
01 — ASSESS
Document the Property, Basement and Goal
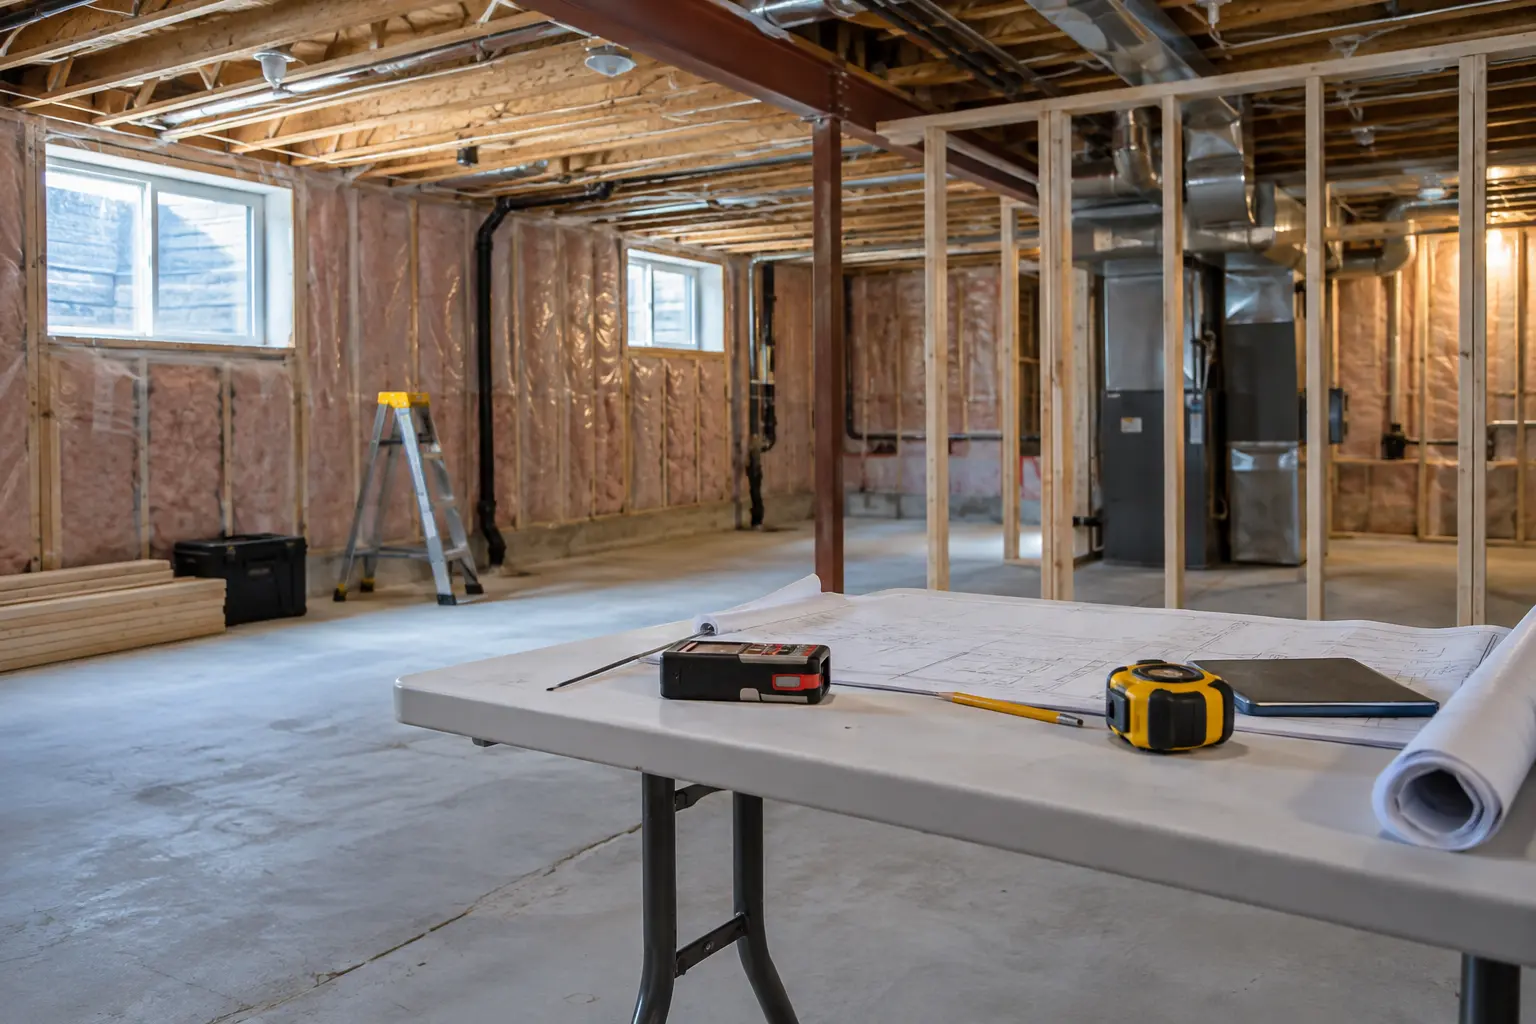
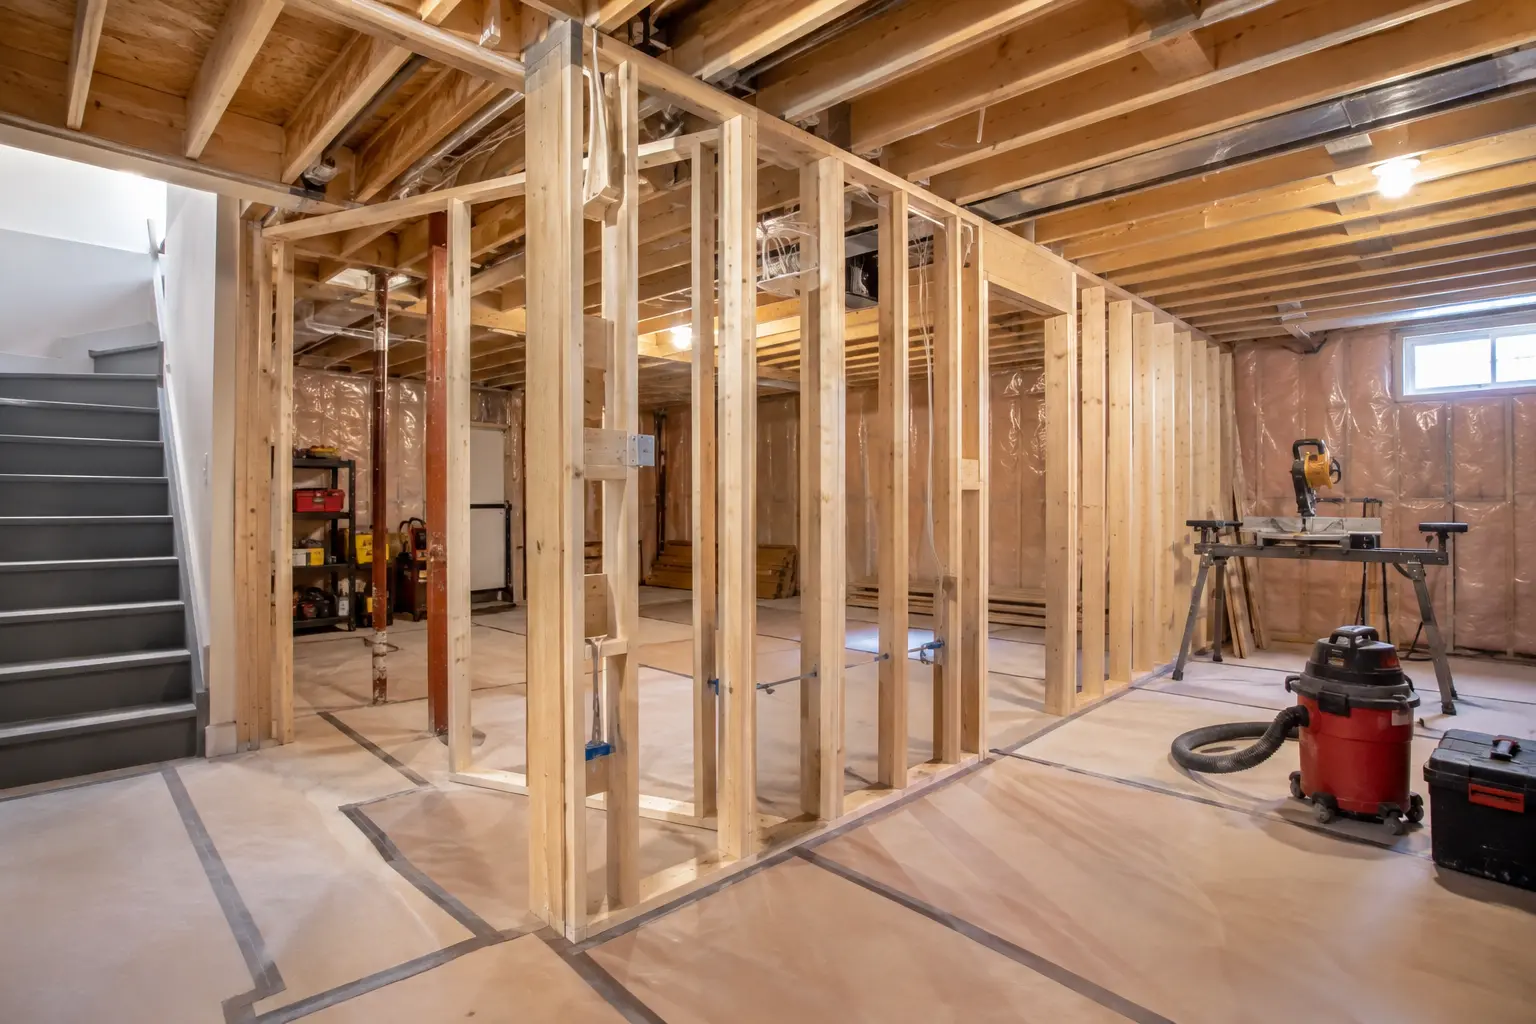
Record what exists today: unfinished, finished, occupied, altered by a previous owner or partly approved. Gather property information and any available drawings, permits or inspection notes. Confirm whether the goal is a family-use renovation or a separate dwelling.
The assessment should identify the questions that must be answered before design—especially exterior access, windows, water history, ceiling conditions, structure and major service routes.
02 — CONFIRM THE ZONING PATH
Check the Proposed Use Against the Property
Identify the zone and applicable zoning by-law. Test unit area, property information, parking or driveway requirements and exterior implications. If the proposal changes a residential basement to an accessory dwelling or second suite, plan for Oakville’s separate Zoning Certificate of Occupancy.
Resolve major zoning issues before investing in a final construction package. The design may need adjustment, or a separate variance path may need to be considered.
03 — DESIGN
Coordinate Layout, Safety and Building Systems
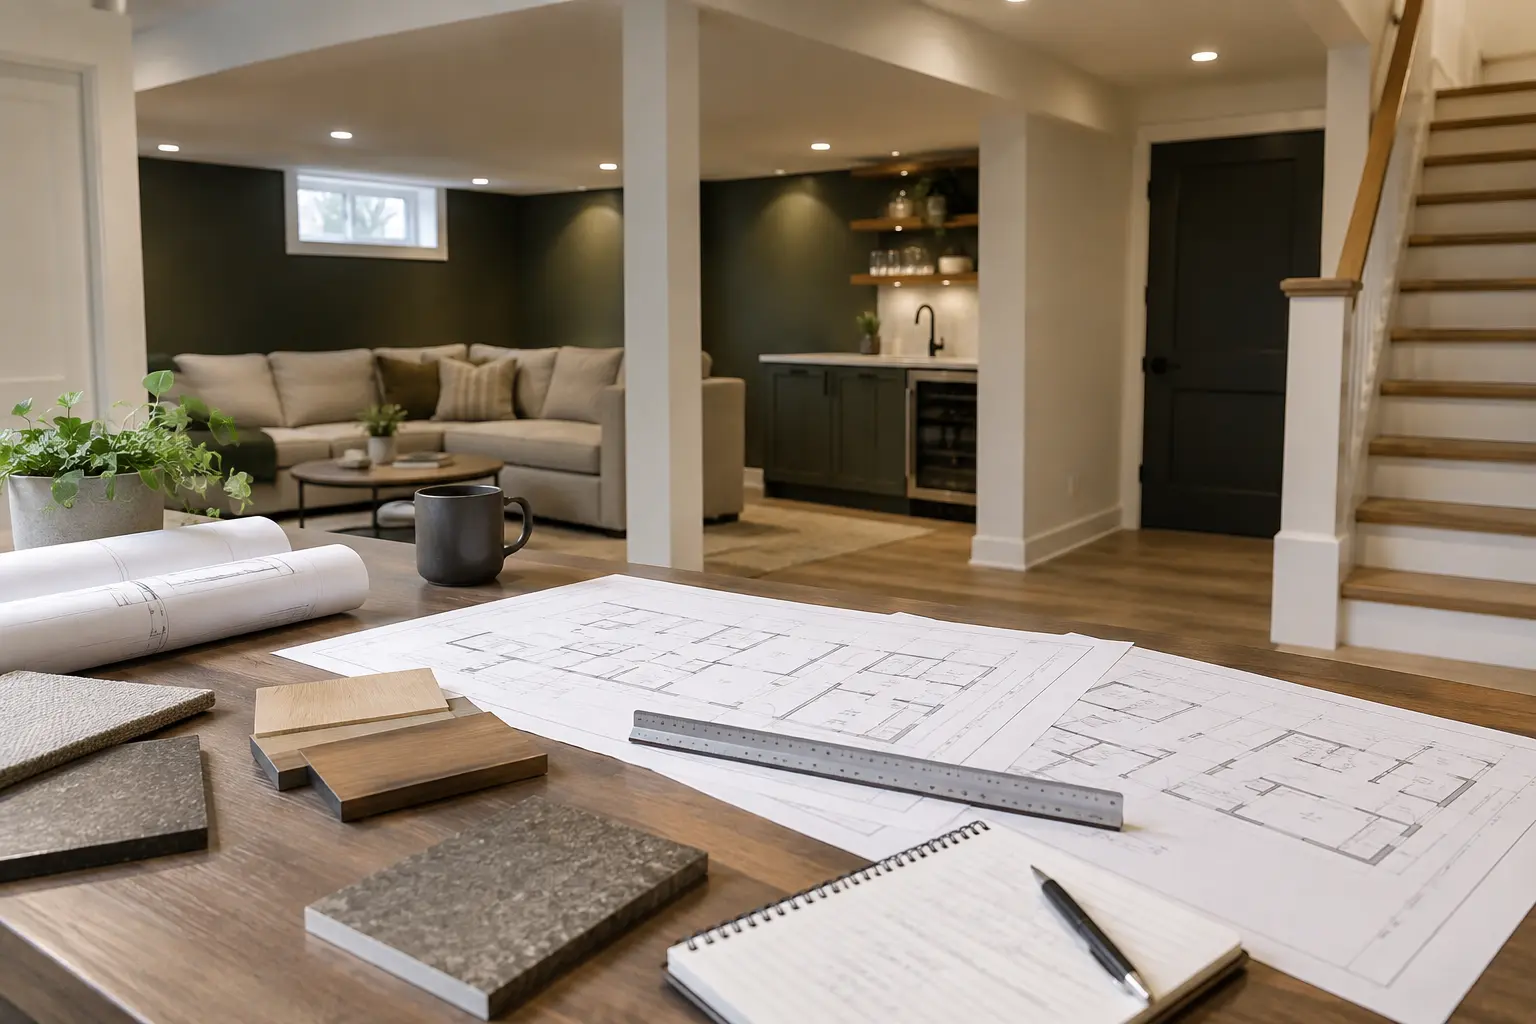
Translate the property review into drawings. Coordinate rooms, entrance, windows, structure, fire separation, HVAC, plumbing, electrical work, laundry, storage and mechanical access. Identify engineered or specialized details early.
The drawings should communicate existing, proposed and demolition work clearly enough for review and construction.
04 — APPLY
Submit the Zoning, Permit and Supporting Material
Prepare correctly formatted files, forms and fees. Submit the Zoning Certificate material, building-permit drawings and applicable heritage, conservation, tree, engineering or site-alteration documents. Respond to review comments by updating every affected document consistently.
Do not confuse submission with approval. Construction planning can continue, but permit-dependent work should remain aligned with the issued documents.
05 — CONSTRUCT
Build in an Inspection-Aware Sequence
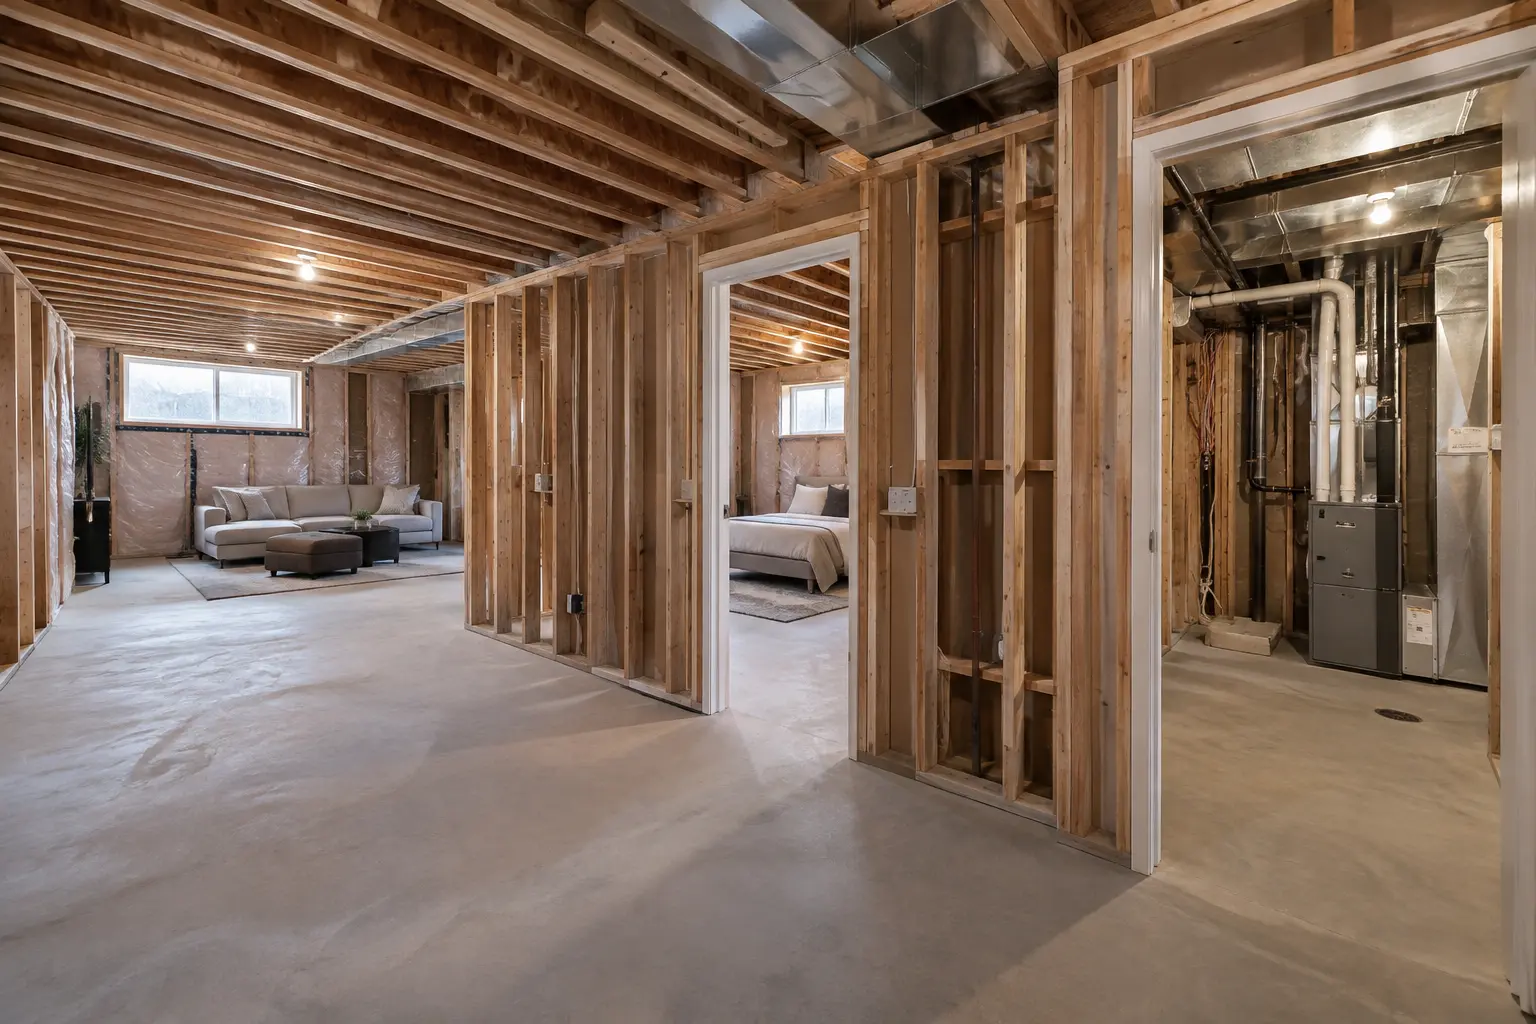
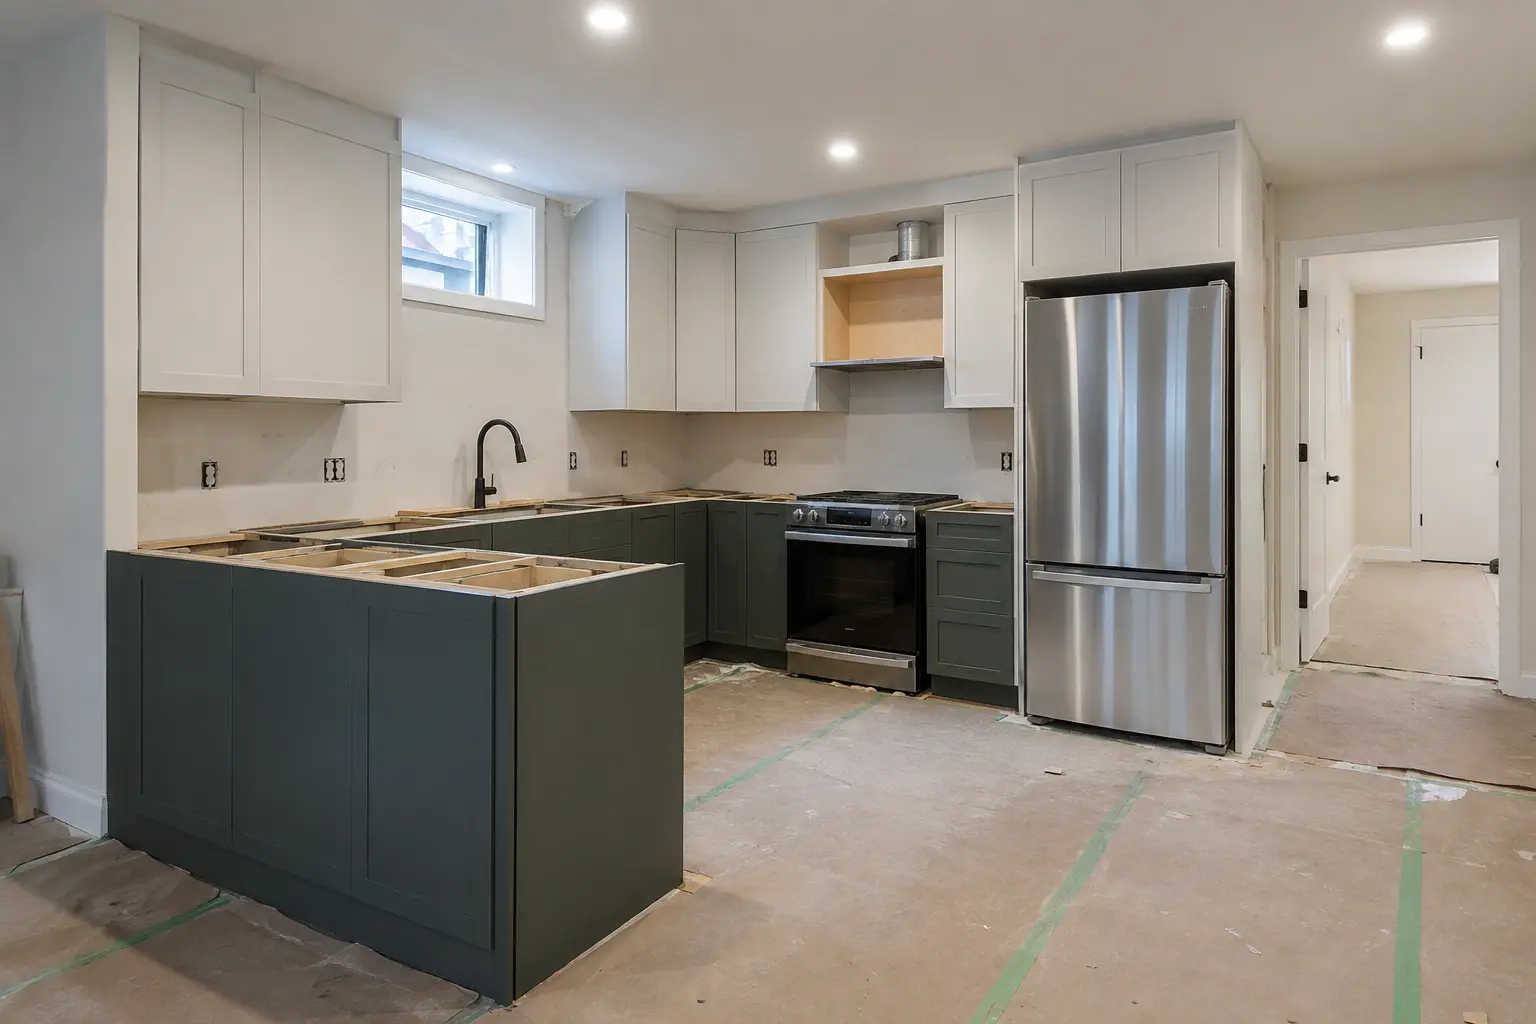
Complete demolition and investigation, then exterior and structural work, framing, rough-ins, insulation, fire separation and finishes in the sequence the project requires. Protect completed areas and keep current drawings available.
Changes discovered on site should be reviewed before they are concealed. Field improvisation can conflict with the approved design or another trade’s work.
06 — INSPECT / COMPLETE
Close the Work, Not Just the Walls
Schedule required inspections at the correct stages and keep work accessible. Track inspection items, complete corrections and retain the final project records. Near completion, check safe access, doors, alarms, fixtures, ventilation, mechanical access and finish details.
A project is not complete because the room looks finished. The approval and inspection path must also be brought to its proper conclusion.
QUESTIONS HOMEOWNERS ASK
Frequently Asked Questions
The timeline depends on design complexity, property-specific approvals, application review, revisions, construction scope, trade coordination and inspections. A reliable schedule should be built after the approval path and scope are understood.
Do not assume so. The Zoning Certificate does not authorize construction, and work requiring a building permit should wait for the applicable approval. Starting early can create redesign, enforcement and concealed-work problems.
Layout-dependent and long-lead decisions can begin during design, but final purchasing should remain coordinated with approved dimensions, rough-ins and the construction schedule.
Covered work, incomplete stages, plan changes not reflected in approvals, inaccessible equipment and uncoordinated trade corrections are common avoidable causes.
DECISION GATES
Do Not Advance a Stage With Unresolved Critical Inputs
A reliable process has explicit gates: feasibility before detailed design, coordinated drawings before pricing, current approvals before regulated work, and required inspections before concealment. Each gate protects the next stage from avoidable rework.
Scope gate
Confirm intended use, known constraints, investigations and owner priorities before the drawing set expands.
Construction gate
Confirm issued documents, responsibilities, selections, schedule, site logistics and required inspections before mobilization.
Closeout gate
Complete corrections, testing, records and owner orientation before treating visual completion as final completion.
CHANGE CONTROL
Make Field Decisions Visible to Everyone They Affect
A discovered beam, drain or foundation condition may require a design change. Record the issue, responsible reviewer, decision, drawing impact, price and schedule effect before proceeding. The carpenter, plumber, electrician and mechanical contractor should not each solve the same conflict independently.
Maintain a current decision log and deficiency list. Short weekly coordination reviews can resolve access, inspections, selections and trade dependencies before they delay the site. Photograph concealed work systematically with room names and dates rather than keeping an unsearchable camera roll.
Owner selections need deadlines tied to rough-in and procurement. Appliances, plumbing fixtures, lighting, flooring and millwork can affect service locations or lead times. Late aesthetic decisions become technical changes when rough-in is already complete.
Closeout is its own phase
- Complete required inspections and follow-up items
- Test doors, windows, alarms, fans, fixtures and controls
- Finish touch-ups under normal lighting
- Label panels, valves and service access
- Collect manuals, warranties and approved documents
- Explain maintenance and seasonal checks
- Record any agreed post-handover items in writing
See inspections and project closeout for a detailed record structure and cost planning for change control.
COMMUNICATION RHYTHM
Use Short, Regular Reviews to Prevent Long Delays
A weekly project update can cover work completed, inspections, decisions due, long-lead products, open changes and risks to the next two weeks. Keep the format consistent and attach the current decision and deficiency logs. Owners should not need to reconstruct status from separate text-message threads.
Before each major stage, hold a focused readiness review. Before rough-in, confirm equipment and fixture assumptions. Before close-in, confirm inspections and photographs. Before cabinetry, confirm dimensions and appliances. Before handover, confirm testing and records.
Escalate these issues immediately
- Unsafe conditions or active water
- Work that differs materially from approved drawings
- Missing inspection access before concealment
- A change that affects multiple trades
- A product delay that blocks the critical path
- A cost decision required before work can proceed
Good process does not eliminate surprises. It makes them visible early enough for the owner and project team to choose deliberately.
Project Completion Checklist
Confirm municipal and trade inspection items are complete, current drawings reflect accepted changes and every deficiency has a documented status. Test the basement under normal use rather than only checking appearance.
- Run plumbing fixtures and exhaust fans
- Operate doors, windows, locks and lighting controls
- Test alarms through the intended procedure
- Check heating, cooling and equipment access
- Inspect exterior wells, drains, grades and guards
- Collect approvals, manuals, warranties and photographs
Hold a final owner orientation and identify seasonal follow-up. If some work cannot be assessed because of weather, write down the responsibility and date. A project is easier to close when completion criteria were defined before construction, not invented at the last invoice.
Pause Points Protect Quality
Schedule short hold points before slab repair, insulation, drywall, waterproofing cover-up and cabinet installation. The responsible people confirm inspections, photographs, dimensions and outstanding changes before the next layer proceeds.
A documented pause of a few hours can prevent days of removal and restoration. Include these points in the schedule and trade expectations rather than treating them as optional site interruptions.
Release the next stage only when open deficiencies have an agreed disposition. A note can remain open with a planned correction, but it should never disappear simply because another material covers it.
Record the release date and person responsible. That small administrative step creates accountability without slowing a well-prepared site. Attach the relevant inspection or quality-control note so the reason remains clear. Circulate it before the next trade mobilizes.
Review the schedule after every hold point and update the owner on the next decision date.
REQUEST AN ASSESSMENT
Start With a Basement Assessment
Share the current condition, the result you want and any drawings, permits or inspection information already available.
Project requirements depend on the property, existing conditions and proposed scope.
Discuss Your Basement
Tell us what exists today and what you want the lower level to become.
Please return shortly to request a basement assessment.