
DESIGN FOR THE WAY YOU WILL USE IT
A Better Finished Basement Starts With Priorities
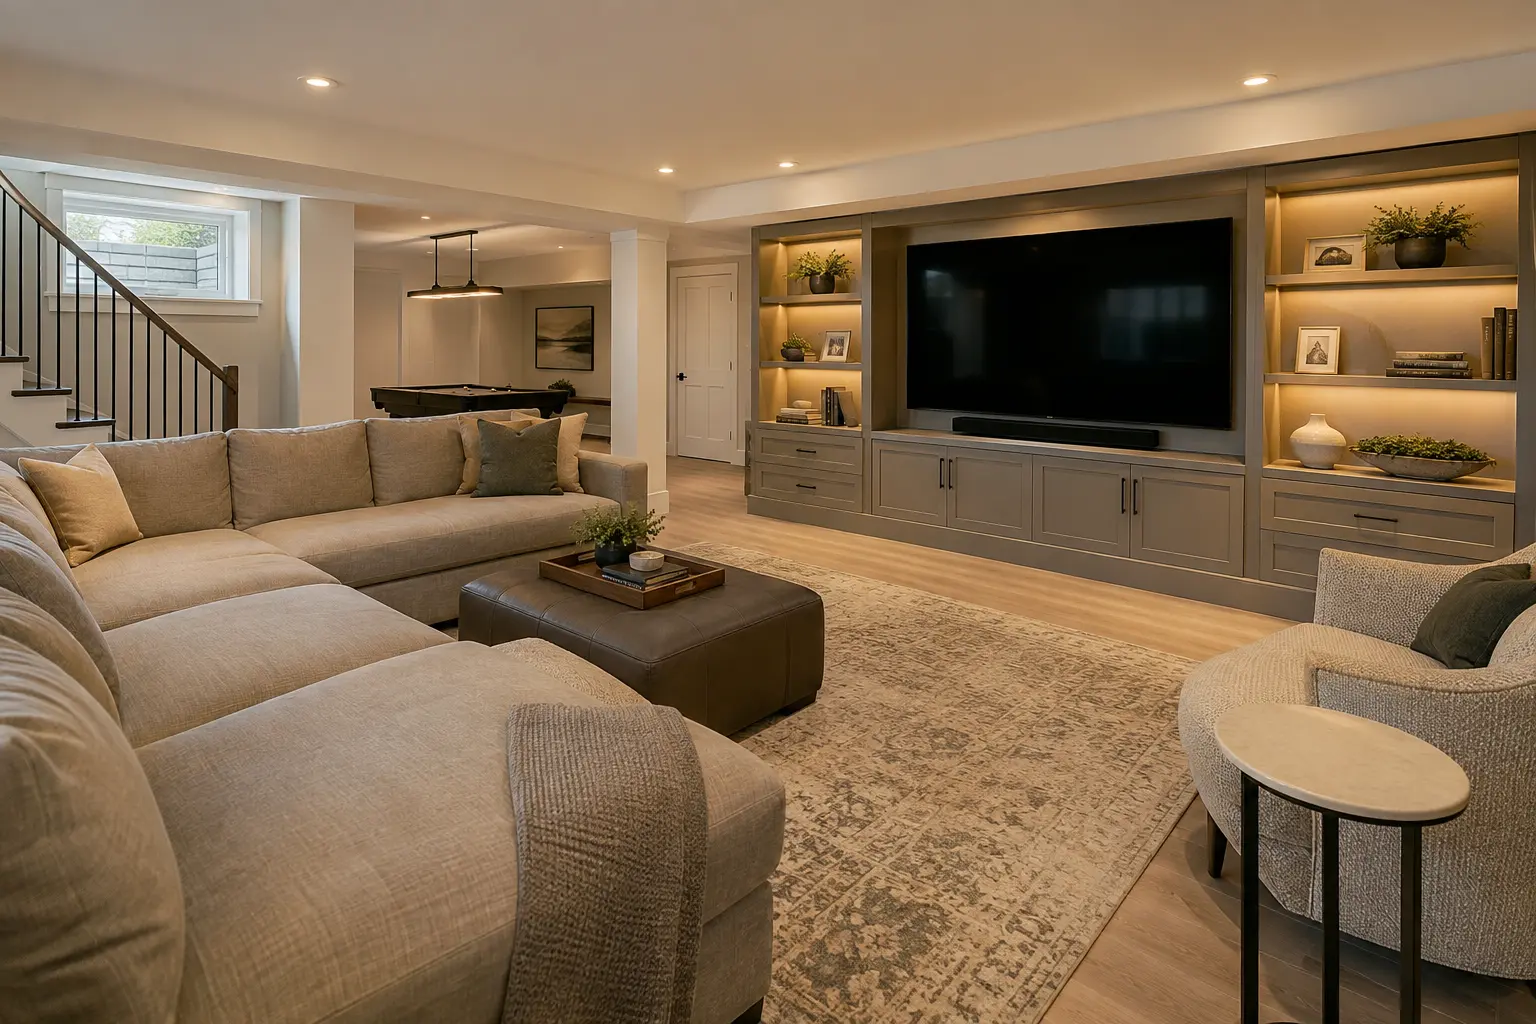
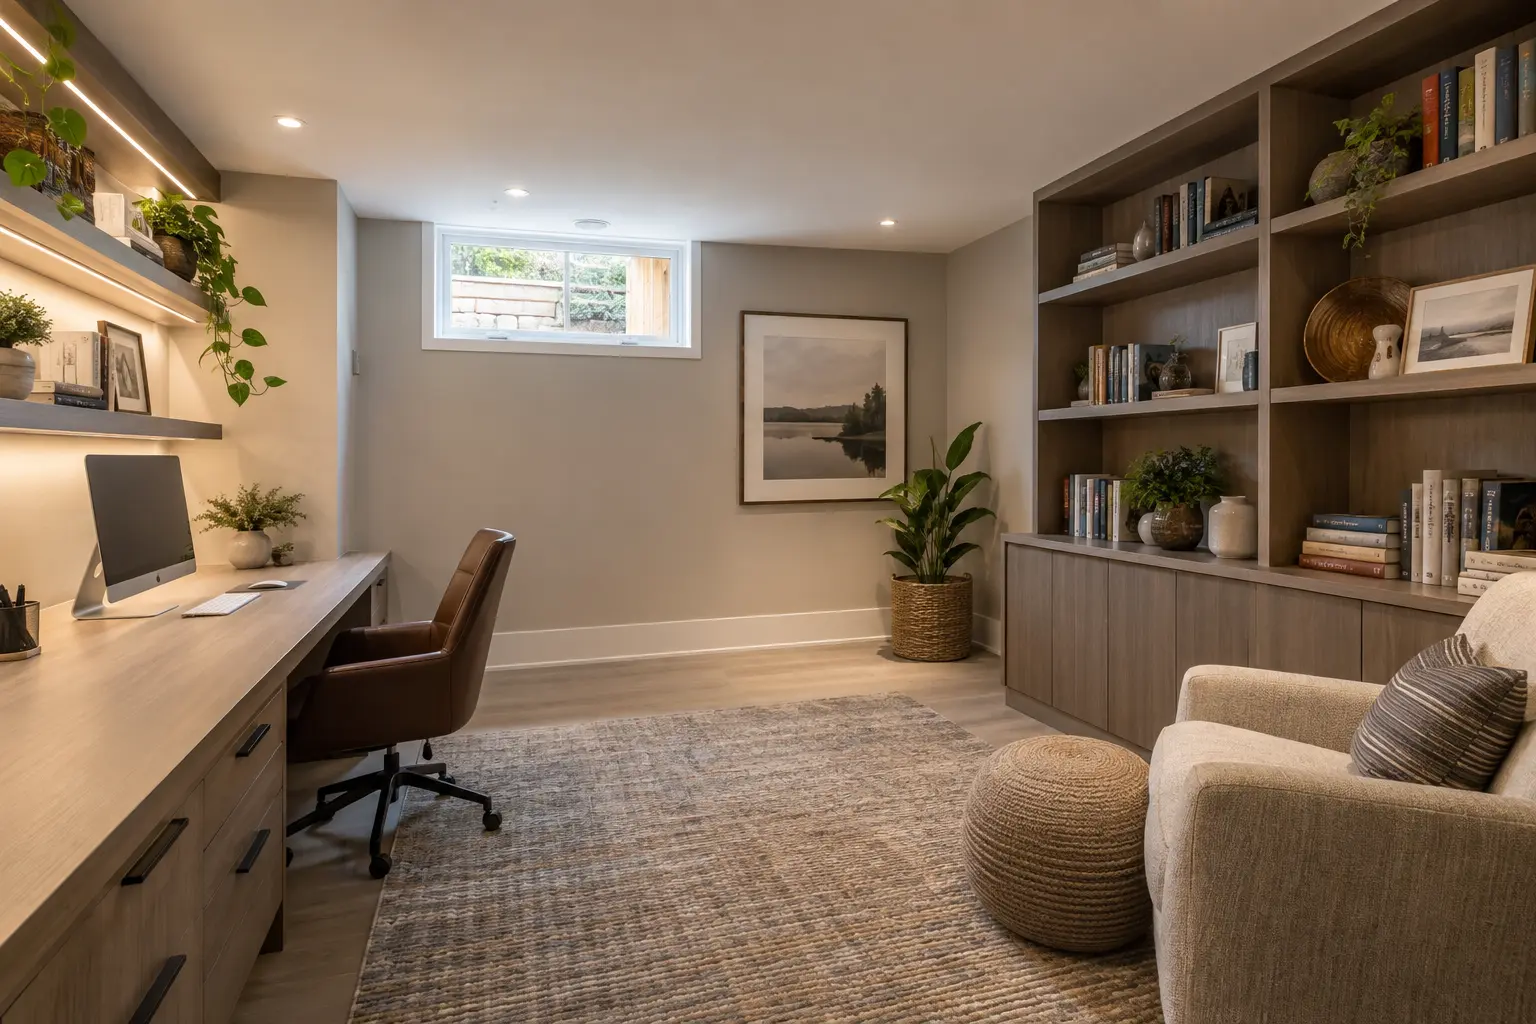
A lower level can become a recreation room, guest area, home office, gym, playroom, bedroom, bathroom, laundry area or a combination of these uses. The strongest layouts establish which activities need daylight, privacy, plumbing, quiet and storage before walls are placed.
Mechanical equipment, stairs, posts, ducts and window locations are fixed anchors. A successful renovation uses them to organize the plan rather than disguising them after the room arrangement is decided.
FAMILY USE OR SEPARATE DWELLING
Be Clear About the Intended Use
A family-use basement remains part of the main dwelling. An accessory apartment provides a separate living arrangement with the functions Oakville identifies for that use. That difference affects zoning, drawings, fire-safety planning, building systems and approvals.
If the plan is uncertain, clarify it before selecting a layout. A kitchen, separate entrance and lockable arrangement can signal a use that deserves direct zoning and permit review rather than assumptions.
ROOM-BY-ROOM SCOPE
Comfort Depends on More Than Finishes
- Family room and media layout
- Bedrooms and window planning
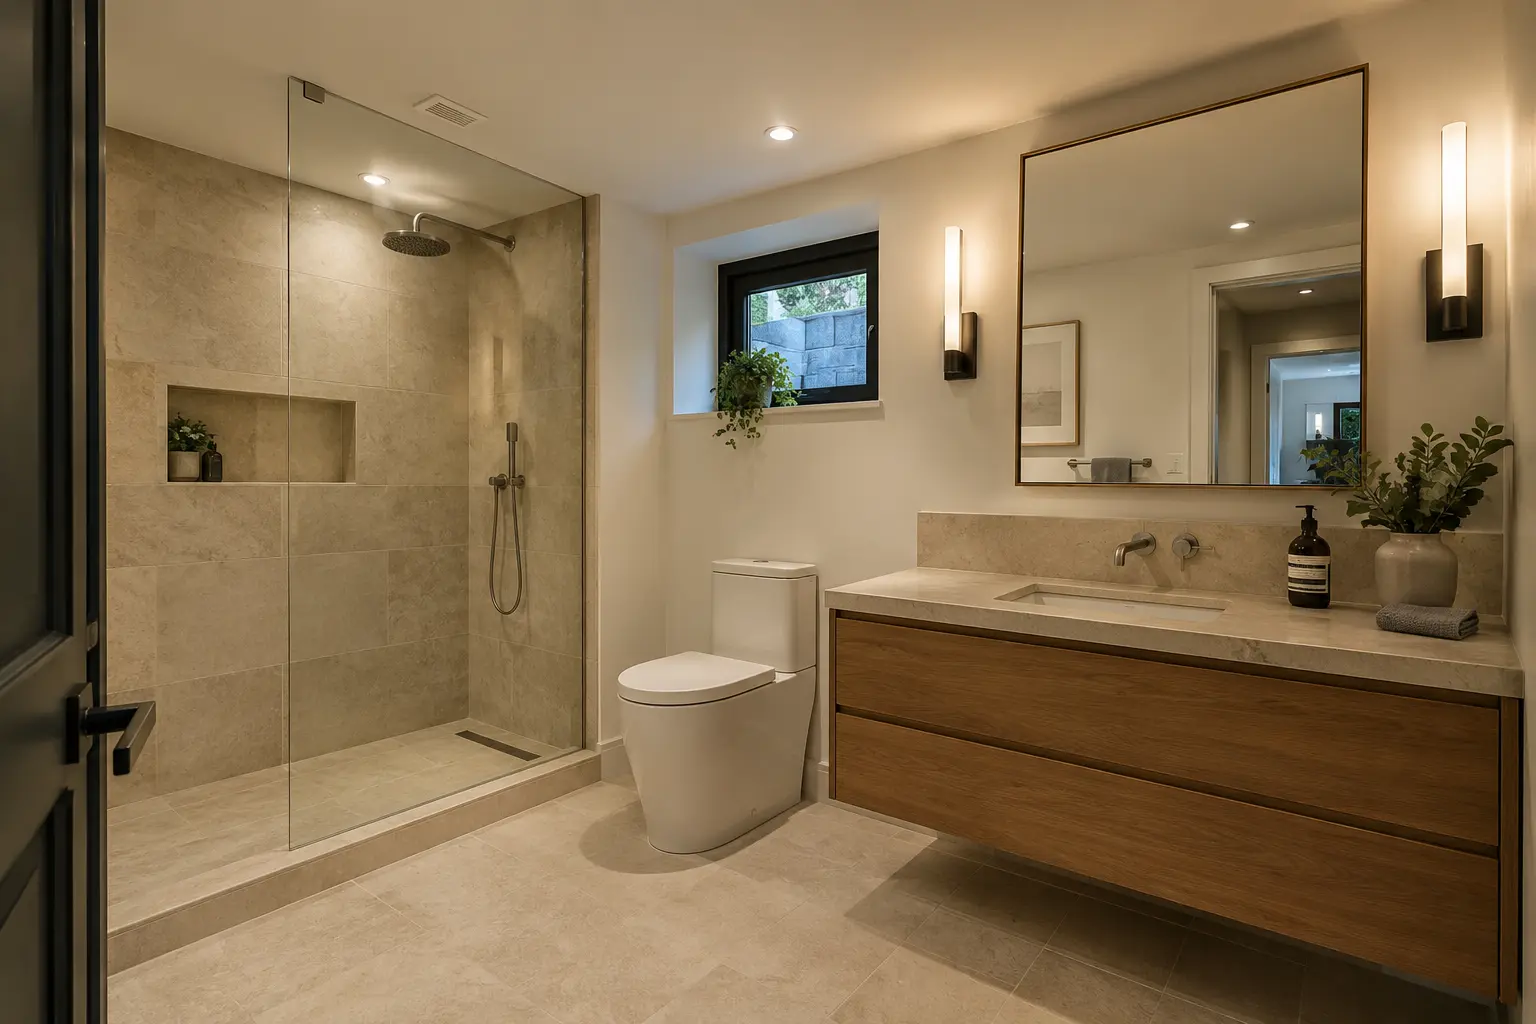
- Bathroom location and plumbing
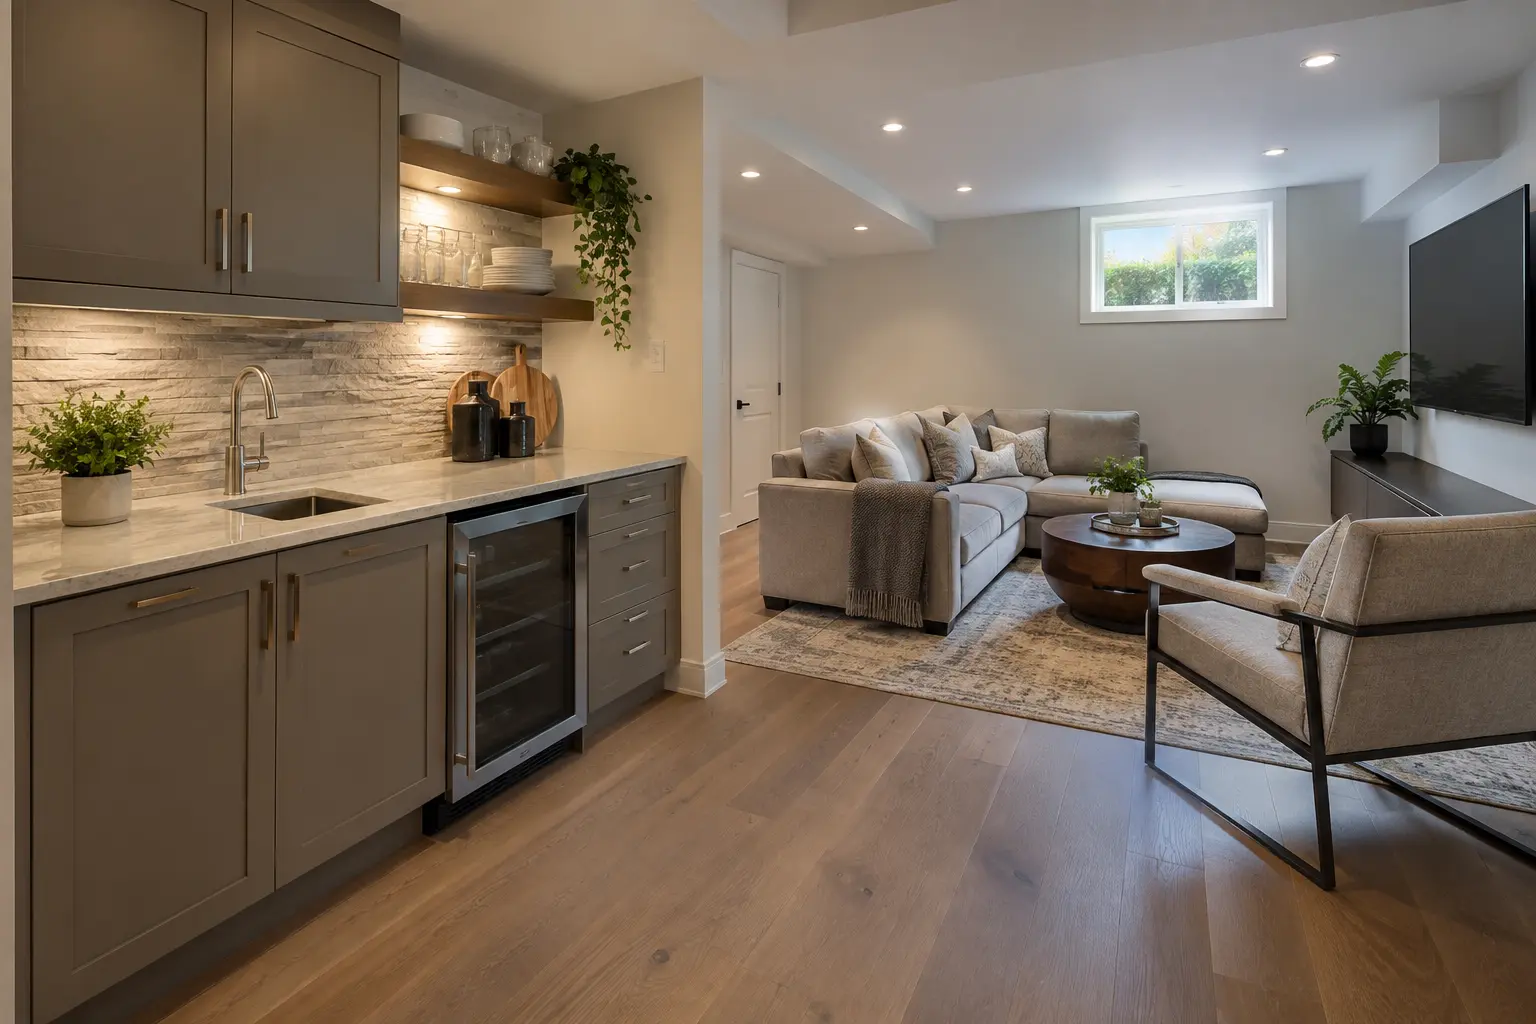
- Kitchen or kitchenette scope
- Laundry and utility storage
- Lighting layers and controls
- Heating, cooling and air return
- Ceiling design around services
- Flooring suited to lower levels
- Sound control between rooms
- Built-in storage and cabinetry
- Future maintenance access
Material choices should respond to basement conditions. Moisture history, slab condition and exterior drainage deserve attention before new flooring and millwork are installed.
PLAN FOR FLEXIBILITY
Create Rooms That Can Change With the Household
Flexible lighting, storage and furniture clearances can allow a room to move from play space to office, guest room or exercise area without another major renovation. Durable circulation routes and accessible service panels protect the investment.
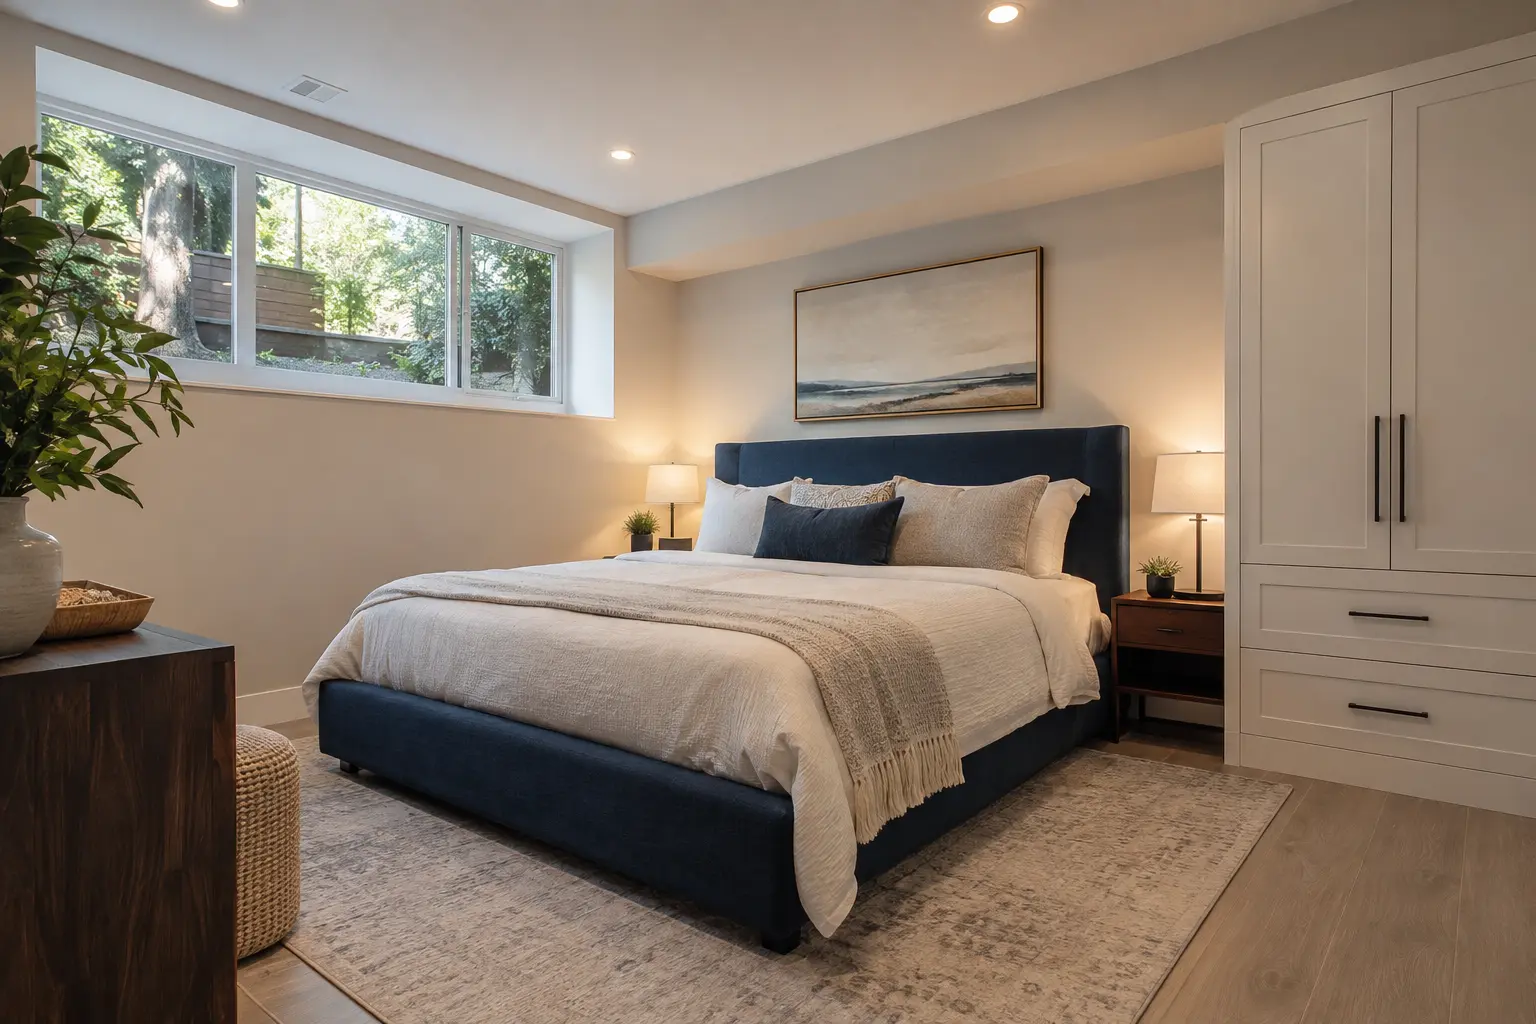
If a bedroom is part of the plan, window and egress conditions should be addressed during design—not after the walls and ceiling are finished. Review the basement window and exterior-opening considerations early.
QUESTIONS HOMEOWNERS ASK
Frequently Asked Questions
No. A family-use finished basement and an accessory apartment have different intended uses and approval paths. A separate dwelling arrangement must be planned and approved for that use.
The Town states that finishing or renovating a basement for personal use requires a building permit.
It can, but the intended use matters. A normal household amenity should not be used to bypass the zoning and permit path for a separate dwelling unit. Confirm the design and use before construction.
Yes. Even when the current project is for family use, window placement, plumbing, mechanical access, ceiling assemblies and layout flexibility can be planned thoughtfully. Future approval is never guaranteed, so avoid representing future readiness as current legal status.
RENOVATE WITH AN END USE IN MIND
Finished Space and a Separate Dwelling Are Different Scopes
A recreation room, home office or family guest area can be an excellent renovation, but it should not be described or marketed as an apartment unless the applicable approval path has been completed. Define the intended use before drawings, pricing and construction begin.
Family living space
Focus on comfort, storage, acoustics, durable finishes and flexible rooms connected to the main dwelling.
Future-ready layout
Coordinate services and circulation so a later conversion is not needlessly difficult, without claiming that future approval is guaranteed.
Accessory apartment
Plan the zoning, permit, life-safety and systems scope as a dwelling project from the start.
DESIGN FOR THE BASEMENT YOU HAVE
Use Constraints to Create a Better Layout
Existing beams, ducts, columns and plumbing locations are not just obstacles; they establish the geometry that the plan should resolve. Put circulation beneath the most generous headroom, use built-ins around columns and consolidate lower bulkheads over cabinets, halls or service zones where possible.
Material selection should respond to below-grade conditions. Investigate moisture before covering foundation walls or installing sensitive flooring. Choose assemblies that allow appropriate drying and access. Mechanical rooms, cleanouts, shutoffs, valves and panels need practical service clearances even when the surrounding finishes are polished.
Lighting should combine ambient, task and accent layers. A uniform field of pot lights can make a low ceiling feel flat and still leave work surfaces poorly lit. Coordinate fixtures with joists, ducts, alarms and access panels before the ceiling is closed.
A complete renovation budget can include
- Design, investigations and permit work
- Selective demolition and disposal
- Framing, insulation and drywall assemblies
- Electrical, plumbing and HVAC changes
- Windows, doors and exterior interfaces
- Cabinetry, tile, flooring, trim and paint
- Testing, inspections, cleaning and closeout
- A contingency tied to known unknowns
Use the layout guide for room-planning ideas and the cost guide to organize budget categories before requesting comparable quotations.
BUILDABILITY AND DURABILITY
Resolve Hidden Conditions Before the Finish Package Arrives
Basements can conceal water staining, foundation cracks, damaged insulation, improvised wiring, undersized drains and inaccessible junctions. Early investigation makes it possible to address those conditions while the work is open. Waiting until cabinets or flooring are scheduled transfers technical risk into finish-stage delay.
Create review points for framing, services, insulation, air sealing and other concealed work. Protect completed areas and maintain a clean, dry site. At handover, identify maintenance access, shutoffs and equipment filters; provide product care information; and record the completed layout.
A well-finished basement should feel intentional without hiding the systems that keep it safe and serviceable. Good detailing is often quiet: aligned bulkheads, accessible panels, dry thresholds, balanced airflow and doors that work without conflict.
HEALTHY FINISH SELECTION
Choose Products for Installation Conditions and Repairability
Review substrate moisture, temperature, flatness and manufacturer requirements before ordering flooring. Confirm that adhesives, underlays and coatings are compatible with the slab and each other. In areas with higher water consequence, consider how materials can be removed, dried or replaced.
Cabinetry and millwork should not permanently conceal foundation access, valves, cleanouts or drainage equipment. Use removable panels where routine service is expected. Leave mechanical equipment the clearances needed for filter changes, repair and eventual replacement.
Pre-finish readiness review
- Moisture sources corrected and materials dry
- Required rough-in and concealed-work reviews complete
- Ceiling access points identified
- Cabinet and appliance dimensions confirmed
- Floor transitions and door clearances coordinated
- Lighting quality checked with representative finishes
Finishes should be installed only when the technical work beneath them is ready. That sequence reduces callbacks and makes the final quality more than cosmetic.
Control Finish Quality With Samples and Mock-Ups
Approve representative flooring, paint, cabinetry, tile, grout, trim and lighting together under the intended room light. Individual samples can change when placed beside each other. Record product names, colours, sheen and installation direction so purchasing and touch-ups remain consistent.
Use a small mock-up where several materials meet or where a bulkhead, access panel or tile edge needs a deliberate detail. Review it before the work is repeated across the basement. Keep attic stock of appropriate finish materials and label it for future repair.
At the final walkthrough, inspect both visual quality and operation. Open every door and drawer, run fixtures and fans, test controls, check transitions and verify service panels remain usable. A renovation is complete when the rooms work as designed and the owner receives the information needed to maintain them.
REQUEST AN ASSESSMENT
Plan a Complete Basement Renovation
Share the current condition, the result you want and any drawings, permits or inspection information already available.
Project requirements depend on the property, existing conditions and proposed scope.
Discuss Your Basement
Tell us what exists today and what you want the lower level to become.
Please return shortly to request a basement assessment.