
LAYOUT FOLLOWS CONSTRAINTS
Design Around Windows, Stairs, Structure and Services
Basements are not blank rectangles. Stair arrival, posts, foundation walls, mechanical equipment, plumbing stacks and exterior grades create a fixed framework. Good design uses that framework to locate private rooms, active living space and service zones.
Begin with furniture and daily use, not just wall lines. A bedroom needs clear circulation and window access. A kitchen needs working space and a connection to dining and living. Laundry and storage need room to open, load and maintain.
COMMON LAYOUT TYPES
Choose the Arrangement That Fits the House
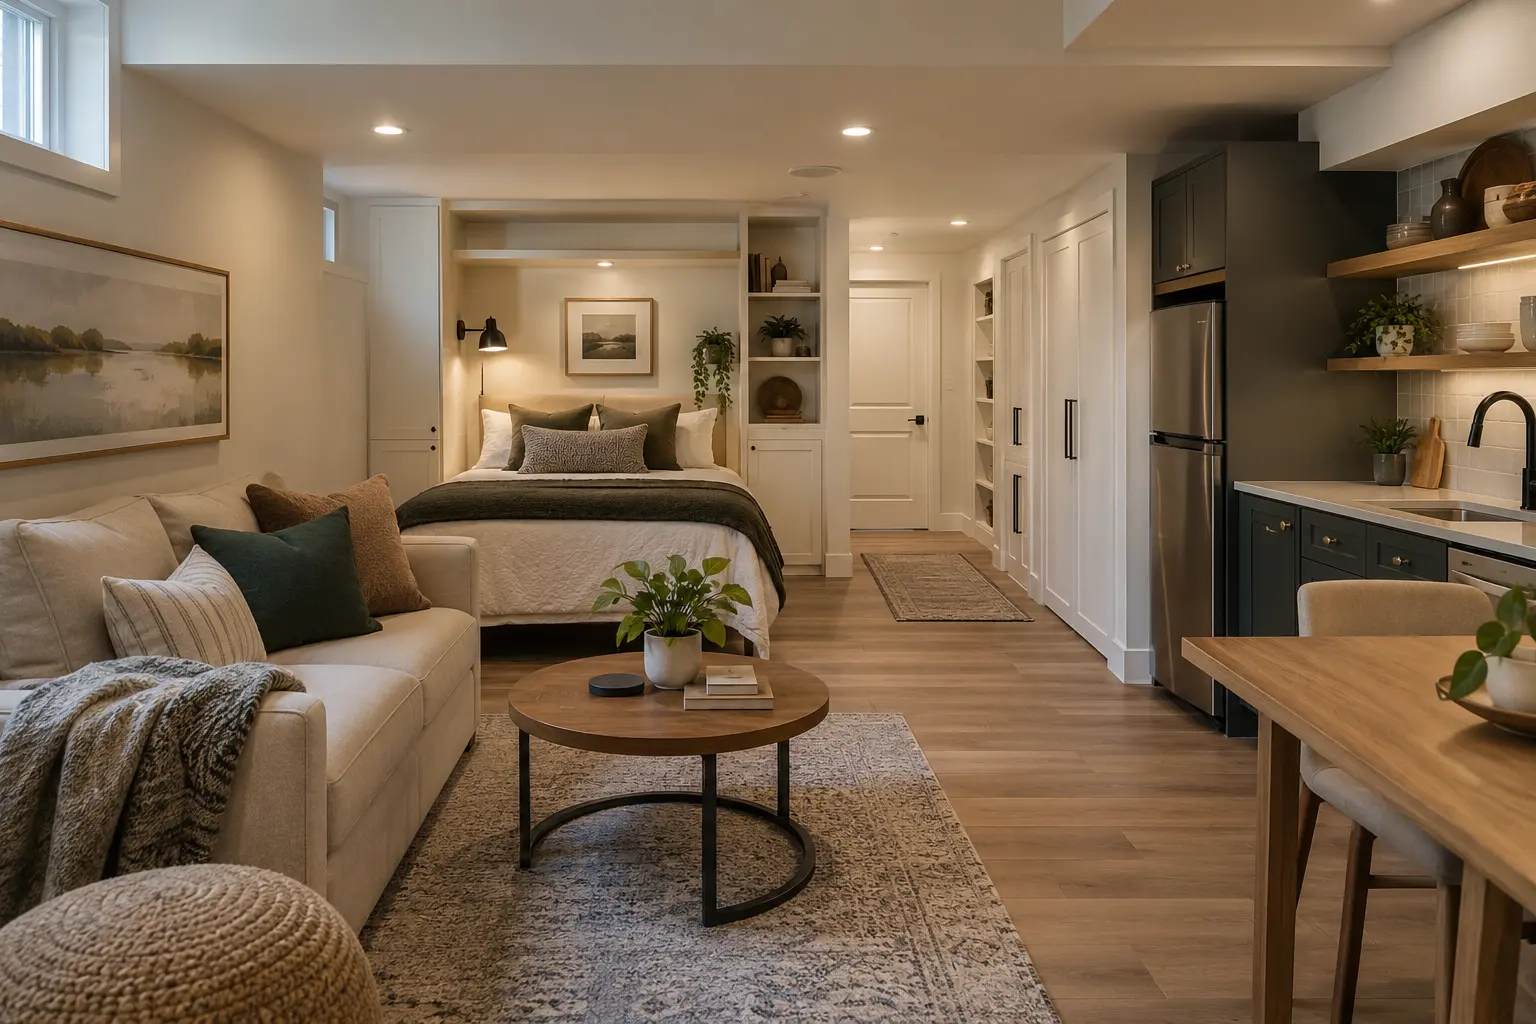
Studio / open plan
Useful where the footprint is compact and fewer partitions can preserve light and movement.
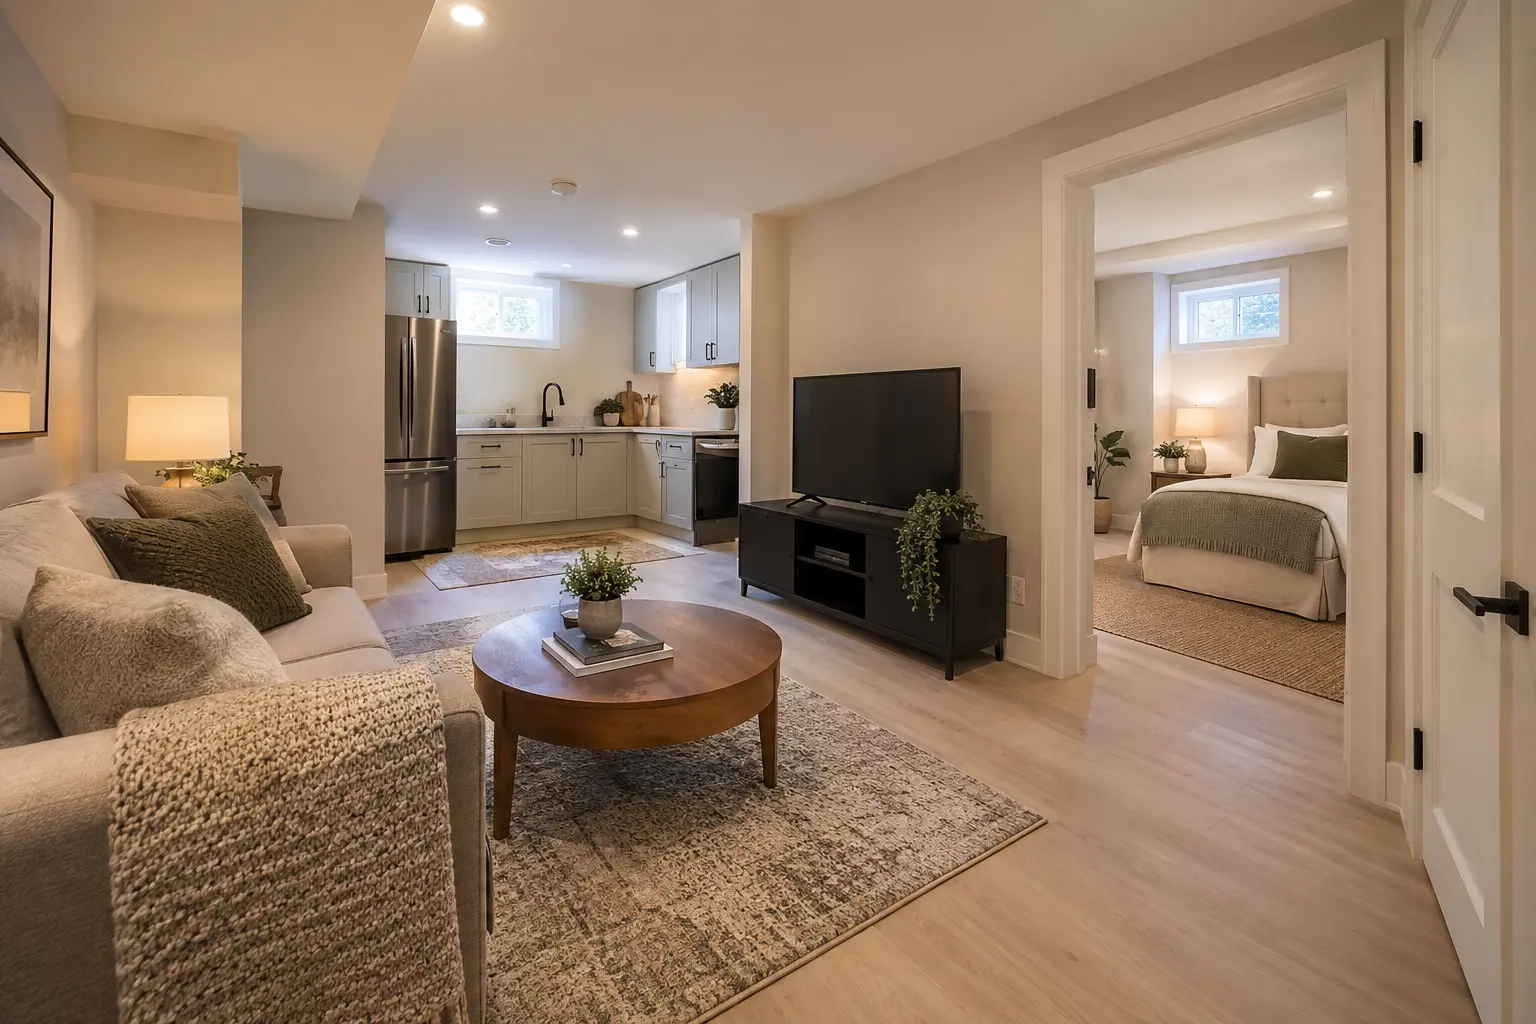
One-bedroom suite
Balances bedroom privacy with a complete living, kitchen and storage arrangement.
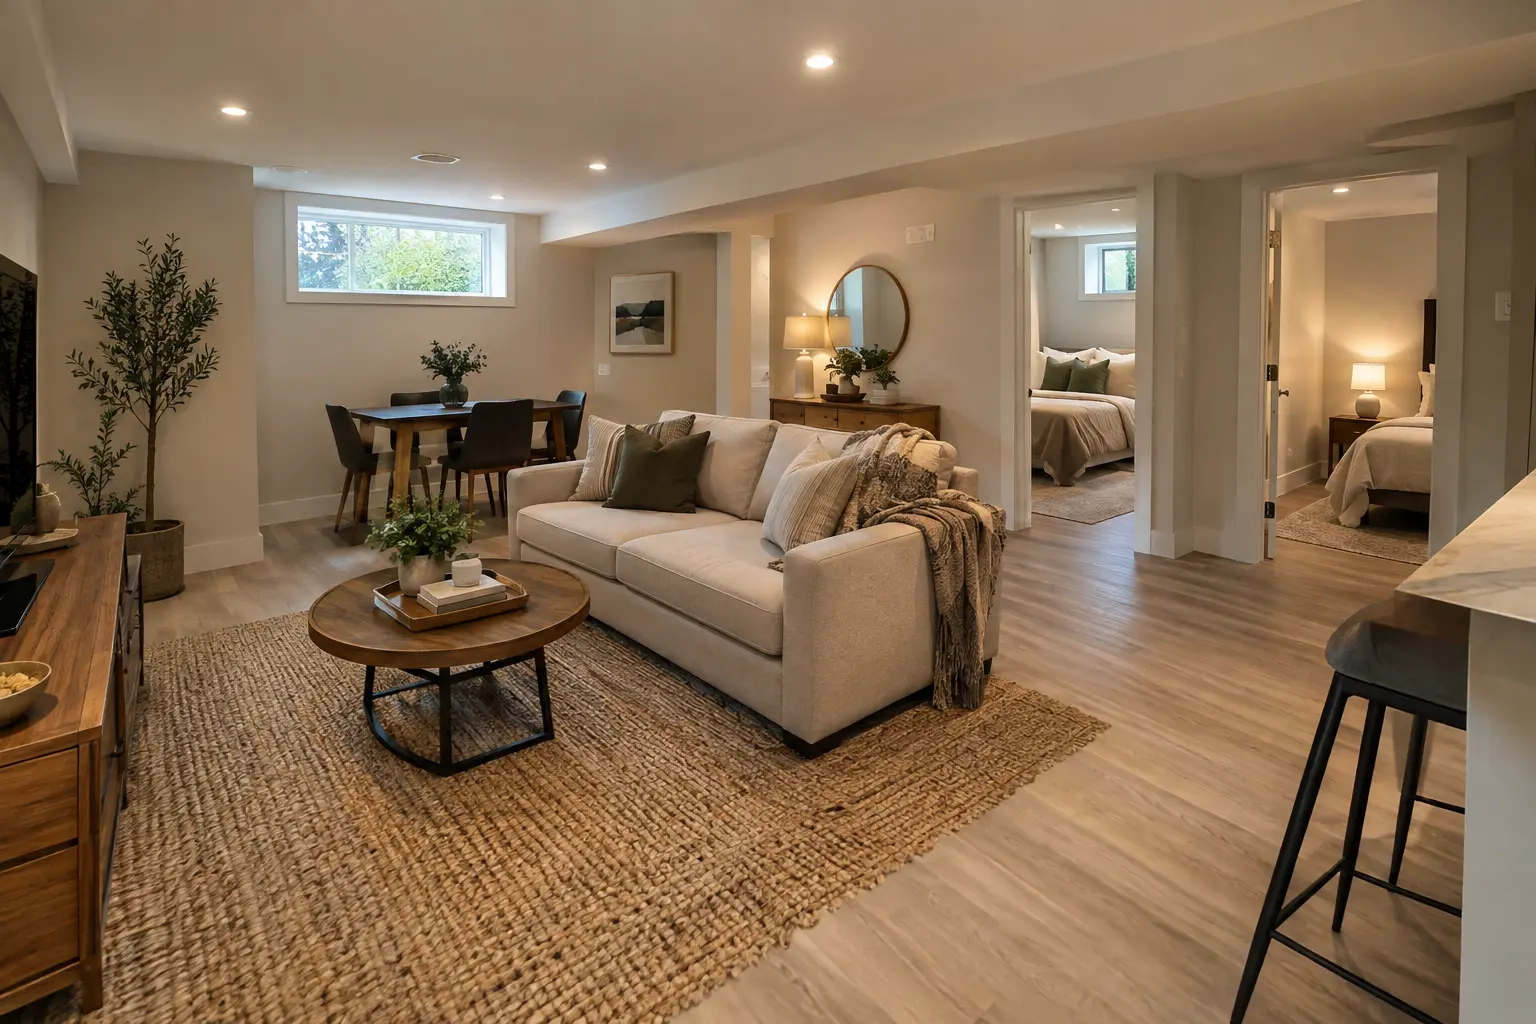
Two-bedroom suite
Places greater demand on windows, circulation, storage, room areas and shared-space comfort.
Family-use lower level
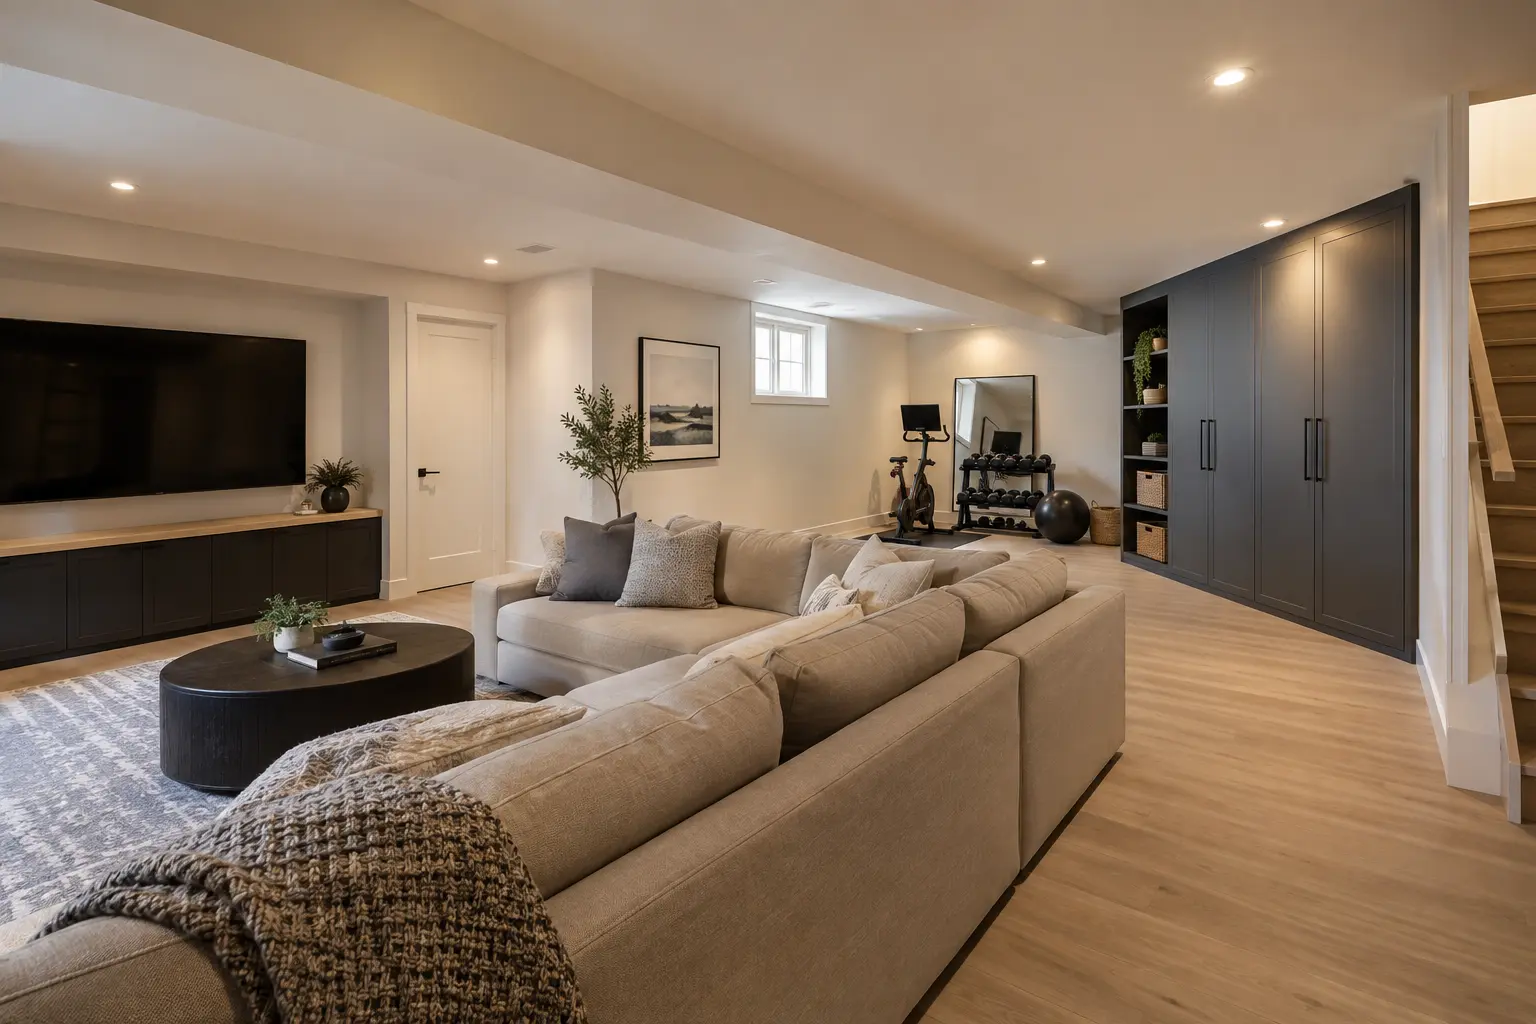
Can combine recreation, work, guest, exercise and storage without creating a separate dwelling.
KITCHEN, LIVING AND BEDROOMS
Protect the Everyday Circulation
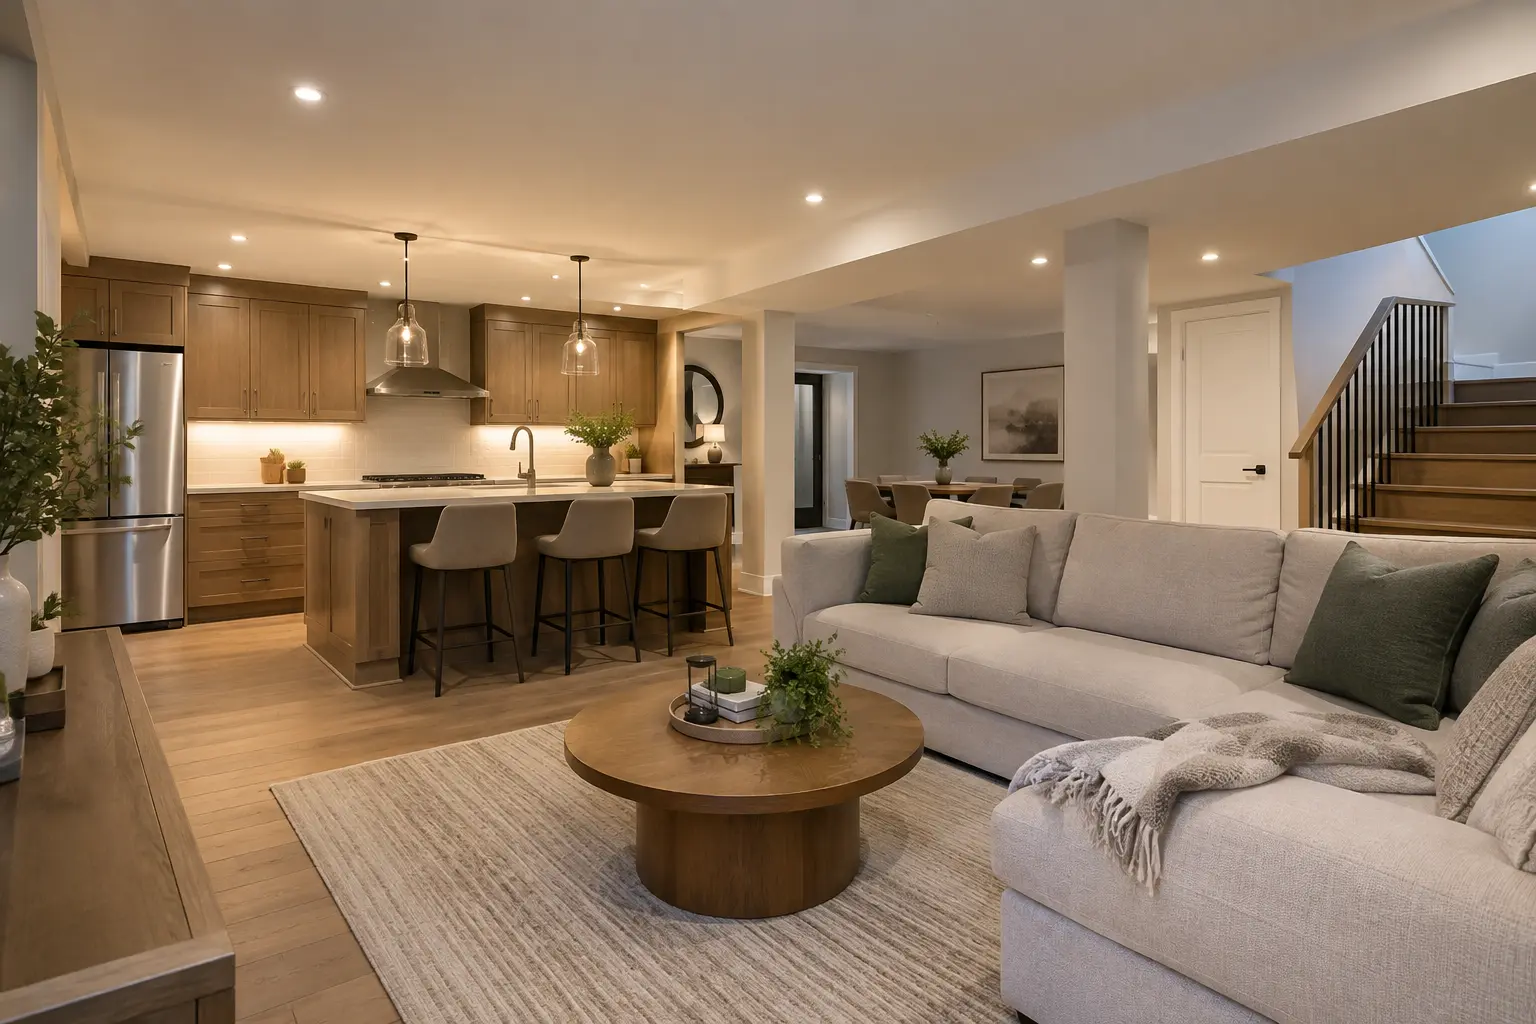
An island or peninsula can organize the kitchen but should not narrow the main path. Dining should not block access to a bedroom or exterior door. Television and seating locations should account for windows, posts and ceiling bulkheads rather than fighting them.
Bedrooms belong where windows, privacy and furniture clearances work together. Avoid plans where the bed blocks the window or the door opens directly into a kitchen work aisle.
UTILITY AND FLEXIBILITY
Give Laundry, Storage and Mechanical Access Real Space
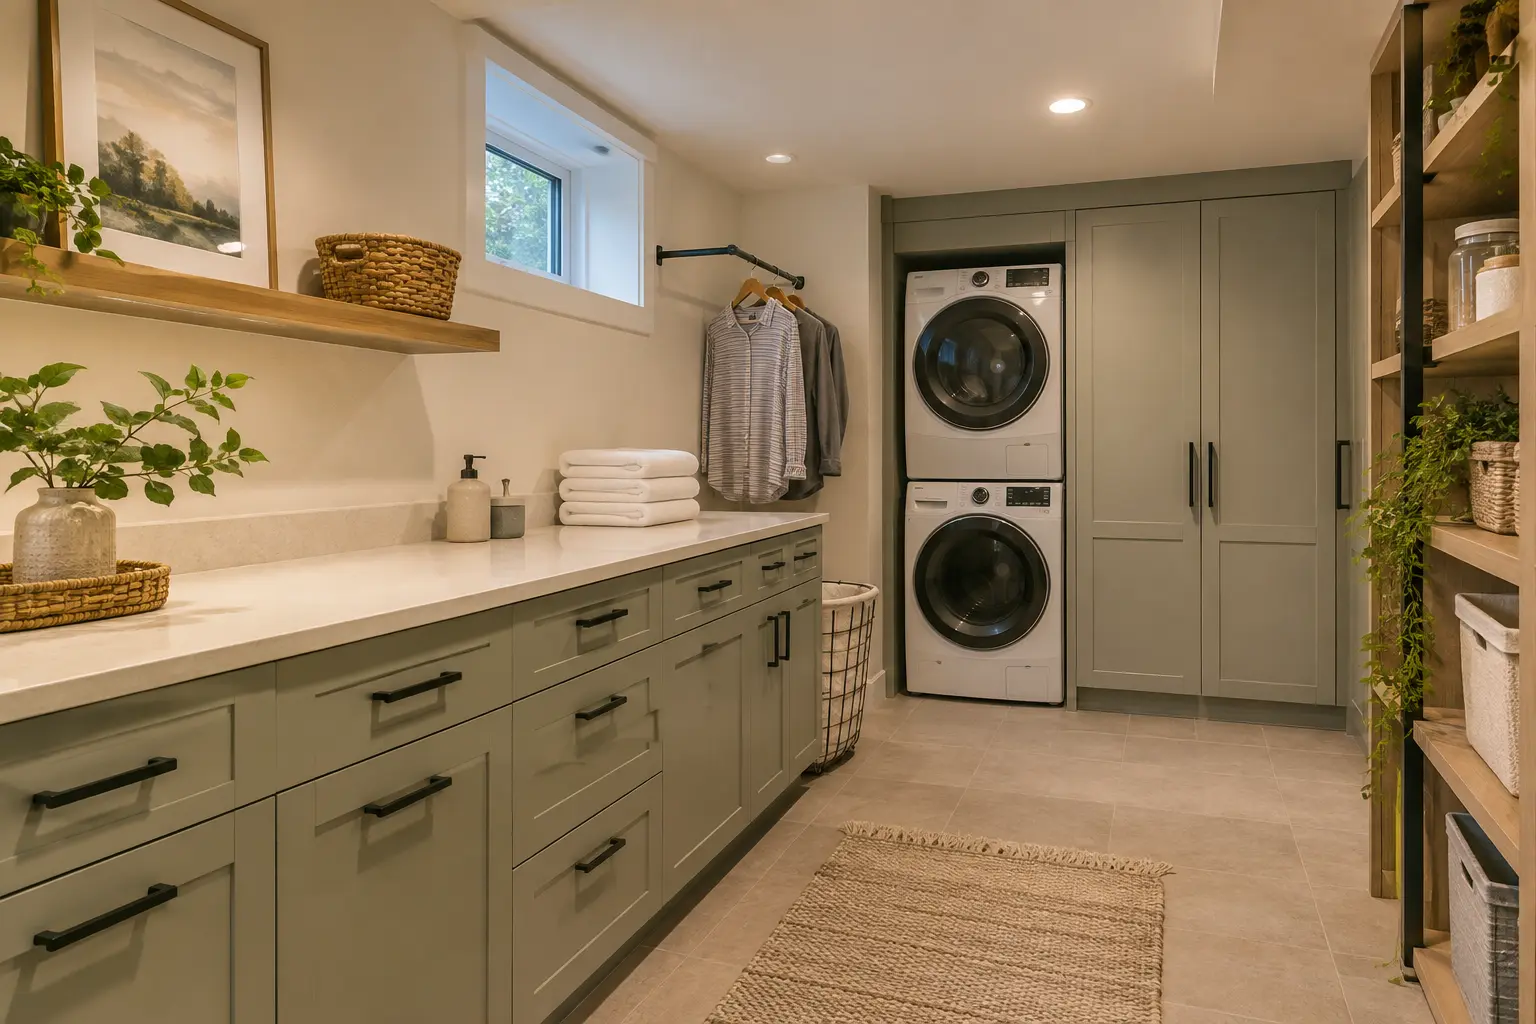
Laundry doors need to open, baskets need a landing place and service equipment needs a clear route. Built-in storage can absorb seasonal items and cleaning supplies without shrinking bedrooms.
For family use, flexible rooms can move between office, guest and recreation functions. Plan electrical outlets, lighting controls and storage so that changes do not require opening finished walls.
QUESTIONS HOMEOWNERS ASK
Frequently Asked Questions
Not necessarily. Bedroom count affects room and window planning, but property zoning, unit area, access, services, structure and the complete dwelling arrangement still need review.
The best location balances plumbing and ventilation routes with natural circulation, dining, storage and usable living space. Placing it beside existing services may help, but should not create a poor plan.
Mechanical access should be reviewed as part of the unit and service plan. The arrangement must support maintenance, safety and the applicable design requirements.
Use the available window locations deliberately, keep tall storage away from daylight paths, layer general and task lighting, choose reflective but warm finishes and avoid overcrowding circulation.
PLAN FROM THE INSIDE OUT
A Good Layout Resolves Daily Life and Building Constraints
Begin with fixed elements, then test realistic furniture, storage, doors and circulation. A plan that only fits diagrammatic rooms can fail when a queen bed, refrigerator door or mechanical service path is drawn at full size.
Daylight zones
Place frequently occupied rooms near the strongest windows where practical, while coordinating bedroom and emergency-access needs.
Service zones
Consolidate plumbing and mechanical routes where it improves buildability without creating noise, low ceilings or inaccessible equipment.
Storage zones
Use stairs, bulkheads and irregular edges deliberately so personal storage does not migrate into exits, utility rooms or window wells.
TEST THE PLAN
Draw the Things People Touch and Move
Show beds, sofas, dining surfaces, appliance doors, shower entries and laundry access. Trace the path from the exterior door to each room and to mechanical equipment. Check that one open door does not block another and that residents can reach windows, panels and shutoffs.
Ceiling design should identify beams, ducts, drains, grilles, lights, alarms and access panels. Instead of scattering small bulkheads, look for consistent service bands and align transitions with walls or cabinetry. Preserve height along primary circulation.
Acoustic planning begins with adjacency. Avoid placing a bedroom beside noisy equipment or beneath high-traffic areas where alternatives exist. Use closets and service zones as buffers, then coordinate assemblies and flanking paths with fire and HVAC requirements.
Three concept tests
- Morning test: can residents use the bathroom, kitchen and exit without conflicts?
- Maintenance test: can equipment be serviced without moving permanent construction?
- Emergency test: are routes and openings visible, reachable and operable?
Connect concept work to accessory-apartment feasibility and verify it through the requirements guide.
DESIGN DEVELOPMENT
Move From Concept to a Coordinated Room Data Sheet
For each room, record its intended use, occupants, furniture, storage, lighting, heating, ventilation, electrical devices, plumbing, acoustic concerns and finish performance. This turns a floor plan into a design brief that other disciplines can use.
A bedroom data sheet can identify bed size, closet length, window operation, supply and return-air needs, alarm coordination and preferred lighting. A kitchen sheet can list appliances, circuits, water connections, exhaust, cabinetry and clearances. The format exposes missing decisions before rough-in.
Review the plan at three scales
- Property: parking, access, grade, drainage and exterior openings
- Suite: circulation, privacy, daylight, storage and system zones
- Detail: door swings, controls, service access and material transitions
Then test the design against construction order. If a cabinet must be installed before a valve can be tested, or a ceiling feature prevents inspection access, revise the detail. Buildability is part of design quality.
Finally, review the layout with real product dimensions. Appliances, shower systems, doors and windows often differ from conceptual sizes. Update drawings and quotations when selections change technical requirements.
Design for Change Without Pretending the Future Is Certain
Households change. Where practical, use flexible living areas, adequate storage and service routes that can be maintained without destroying major finishes. Avoid highly specialized built-ins unless they serve a clear long-term goal. Keep important utilities independent from furniture arrangements.
Future-ready does not mean pre-approving a future apartment or bedroom. Requirements, ownership goals and site conditions can change. It means making sensible present-day decisions: preserving access, documenting routes, avoiding unnecessary structural obstacles and leaving a clear property record.
Review accessibility goals directly with the intended users. Wider circulation, reachable controls, low thresholds and adaptable bathroom backing may add value even where a fully barrier-free design is not feasible. Document which goals were achieved and which property constraints remain.
Use Elevations and Sections to Finish the Plan
Floor plans cannot show every vertical conflict. Interior elevations coordinate cabinets, tile, fixtures, outlets and lighting. Sections reveal headroom, beams, window wells, stairs and ceiling service zones. Add these views before pricing complex rooms.
Review the drawings at print scale and on site. A detail that looks clear when zoomed on a screen may not communicate its location or relationship in the issued set.
Add a finish and fixture schedule that uses the same room names as the plan. Include product dimensions, installation notes and decision dates. When a selection changes, check the related elevation, service rough-in and allowance rather than updating only the shopping list.
Issue a final coordinated design set before ordering custom millwork, glass or windows. These products are costly to change once fabricated. Verify critical openings in the field before release, and document the verified dimension.
Keep the superseded concept set separate so it cannot be mistaken for construction information.
REQUEST AN ASSESSMENT
Plan a Basement Layout That Fits
Share the current condition, the result you want and any drawings, permits or inspection information already available.
Project requirements depend on the property, existing conditions and proposed scope.
Discuss Your Basement
Tell us what exists today and what you want the lower level to become.
Please return shortly to request a basement assessment.