
FINISH THE RIGHT SCOPE
Basement Finishing Is Its Own Service
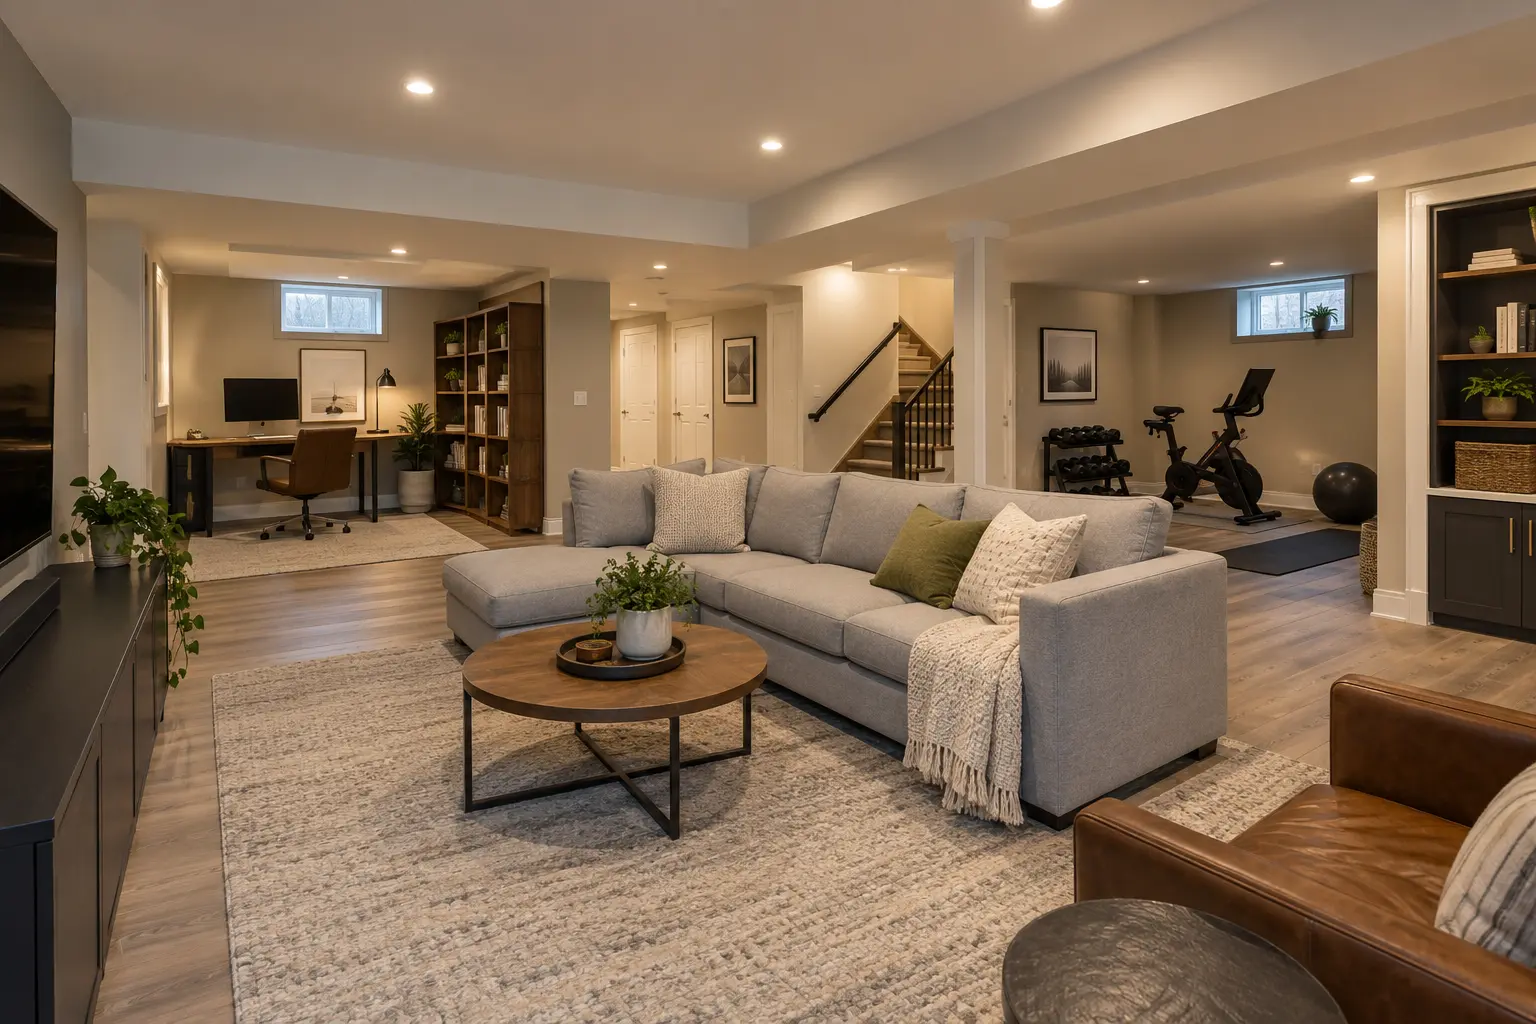
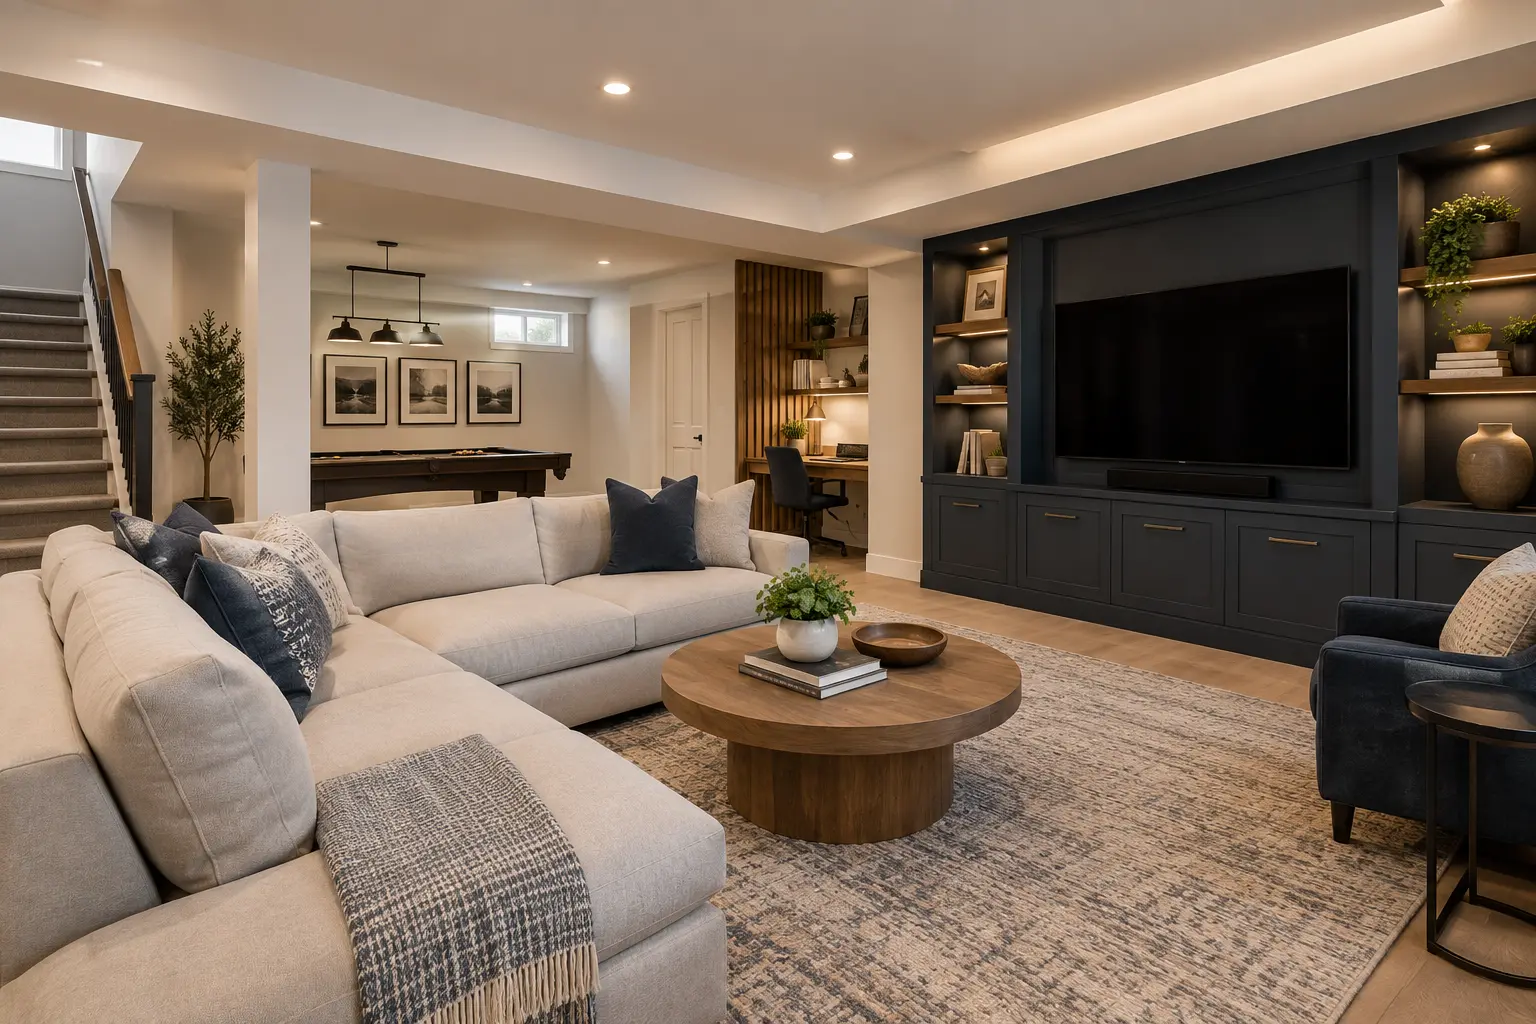
Basement finishing turns a suitable lower-level shell into complete, comfortable rooms. It can include framing adjustments, insulation, drywall, ceiling work, flooring, trim, paint, lighting, built-ins and the final installation of already planned fixtures. It is valuable work in its own right and should not be hidden inside “renovations,” because the starting condition and decision sequence are different.
A complete basement renovation may begin with demolition, an obsolete layout, water damage, structural changes or major new plumbing and mechanical work. Finishing usually begins after the technical concept is established and the substrate, rough-ins and approvals are ready. If those conditions are not ready, the project must step back and solve them rather than conceal them.
Oakville homeowners use finished basements for recreation rooms, home offices, gyms, playrooms, guest rooms, laundry, bathrooms, storage and flexible family space. If the intent is a separate dwelling, move to two-unit dwelling conversion planning; a finished family basement and an accessory apartment are not interchangeable.
PRE-FINISH ASSESSMENT
Confirm the Basement Is Ready to Be Covered
Drywall and flooring make a basement look complete, but they also hide the conditions that matter most. Before finishing, inspect the foundation, slab, window areas, plumbing, electrical work, heating and ventilation, framing and access to equipment. Review the permit history and compare existing work with any available drawings.
Look for active leakage, staining, efflorescence, musty odours, corrosion, damaged insulation and settlement around exterior wells or entrances. Ask when symptoms occur: during heavy rain, spring thaw, humid weather or plumbing use. One dry visit does not prove a basement has no moisture history.
Confirm ceiling heights and the location of beams, ducts, pipes and cleanouts. Measure every room, door and opening. Decide what must remain accessible after completion. If investigation requires selective openings, document findings and incorporate corrections into the scope before ordering finishes.
Readiness checklist
- Moisture sources investigated and corrected
- Approved use and room program confirmed
- Structural and framing conditions reviewed
- Plumbing, HVAC and electrical routes coordinated
- Windows, stairs and doors measured
- Required inspections sequenced before concealment
- Equipment service clearances protected
- Final finish substrates defined
For a broader diagnostic project, see basement moisture and drainage or complete basement renovations.
LAYOUT AND CEILING DESIGN
Make the Lower Level Feel Deliberate
Good finishing cannot rescue a layout that ignores circulation, low points or furniture. Start with how the household will use the space. Draw a realistic sofa, television, desk, exercise equipment, bed or game table. Provide clear routes between the stairs, bathroom, storage and mechanical areas without cutting through every activity zone.
Basement ceilings are often the visual key. Map beams, ducts, pipes, lights, grilles, alarms and access panels together. Group bulkheads where possible and align their edges with walls, cabinetry or room transitions. A few intentional ceiling planes usually feel calmer than a series of unrelated boxes built by different trades.
Plan storage early. Built-ins, closets and under-stair areas should work around access needs and actual objects. Do not permanently box in valves, meters, cleanouts, sump equipment, electrical panels or filters. Where access is needed, design the panel as part of the room instead of adding a random grille after painting.
WALLS, CEILINGS AND DETAILS
Control the Quality Before Paint
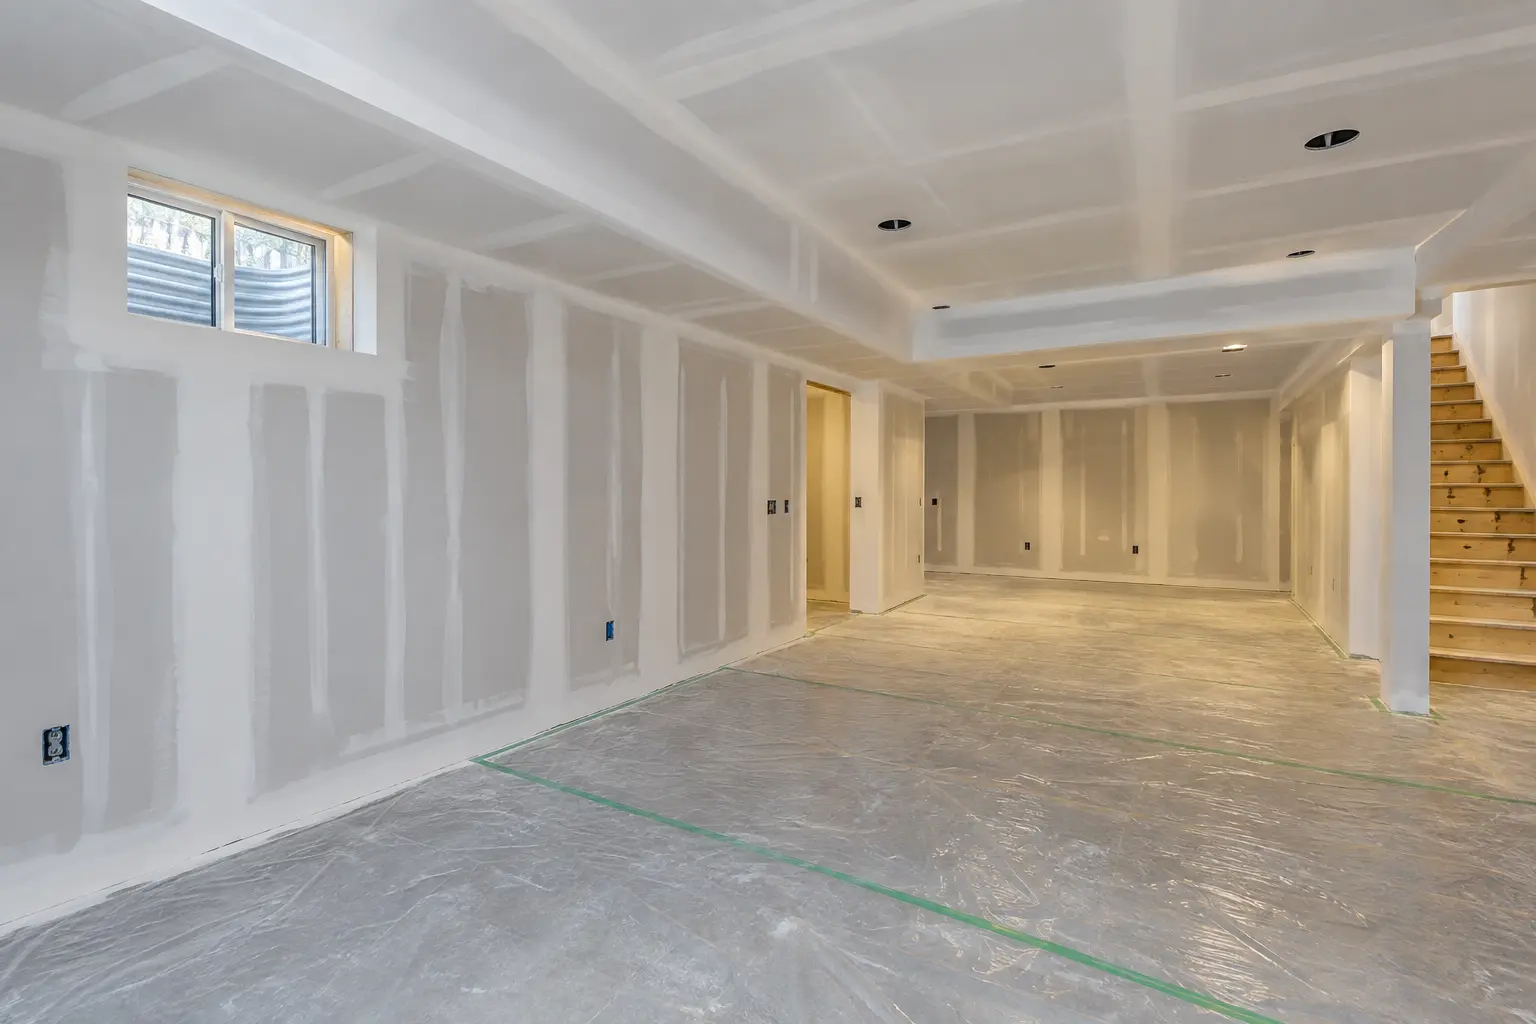
Finish quality begins at framing. Straighten critical walls, confirm door openings, install backing for railings, televisions and cabinetry, and coordinate every penetration before board. Review wall and ceiling assemblies where fire or sound performance applies. Service openings should use the correct detail instead of improvised patches.
Set expectations for drywall level and lighting conditions. Long walls and grazing light can reveal joints that look acceptable under temporary bulbs. Review a representative area before the whole basement is painted. Use moisture-tolerant products only where appropriate; a product label is not a substitute for solving wet conditions.
Trim details should account for slab variation, window returns, stair transitions and cabinetry. Decide baseboard profiles, door casing, reveals, hardware and paint sheen as a coordinated palette. A short finish schedule prevents room-by-room substitutions and gives the final walkthrough an objective reference.
FLOORING AND MILLWORK
Select Materials for a Below-Grade Environment
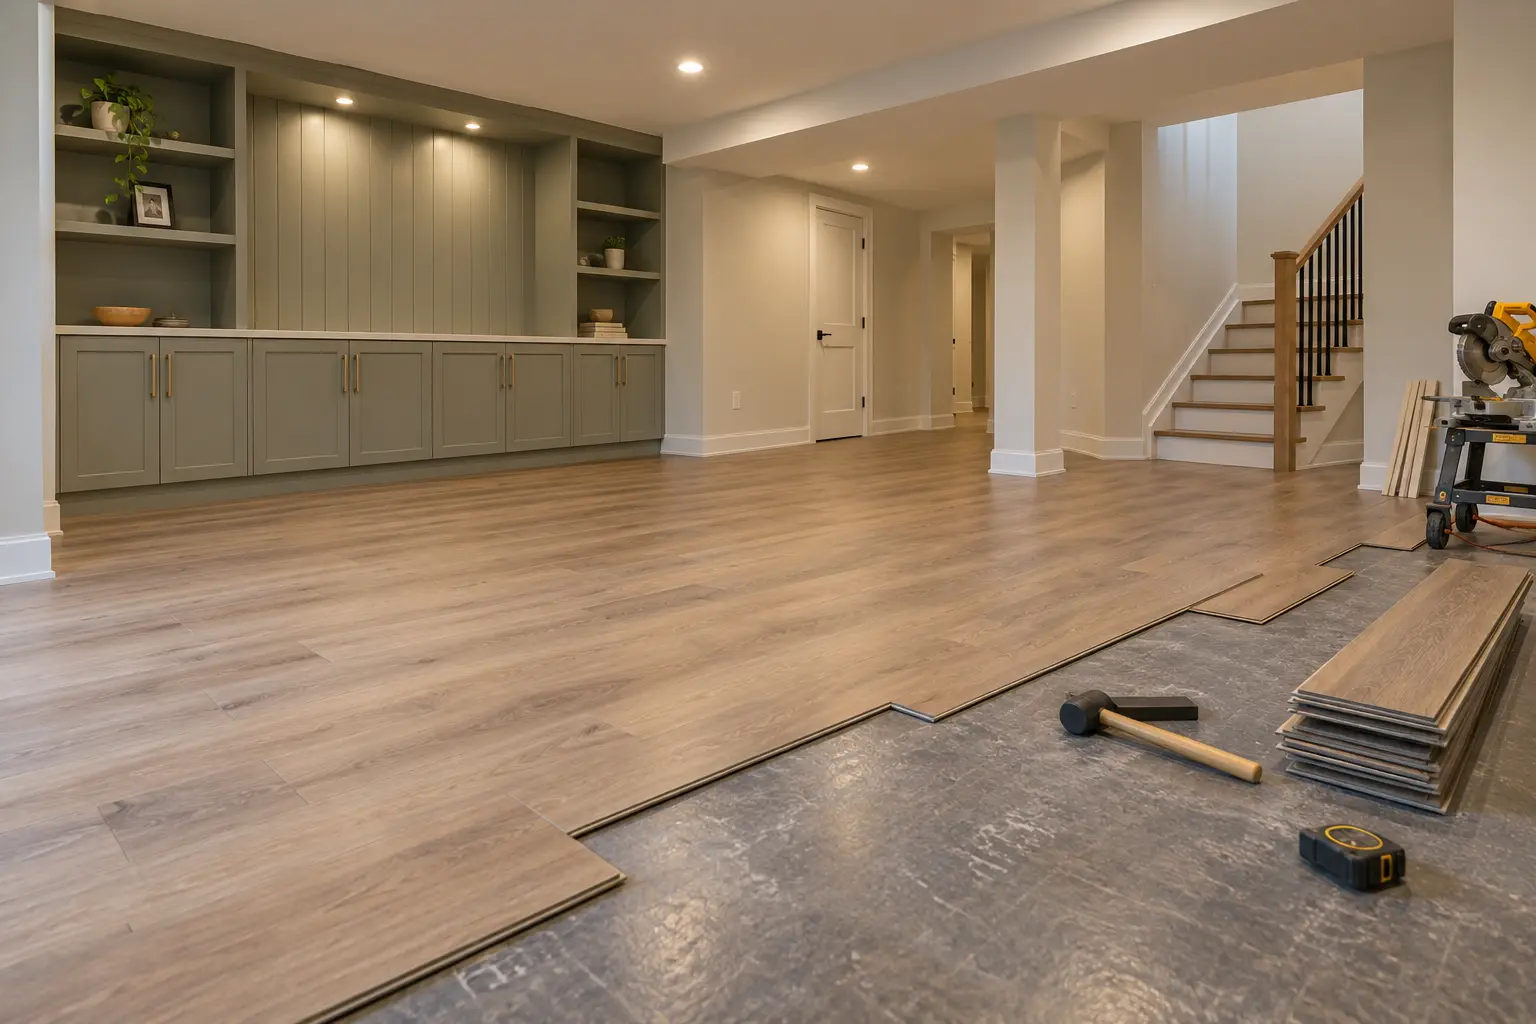
Before flooring is purchased, evaluate slab moisture, flatness, cracks, transitions and manufacturer installation conditions. The assembly may require preparation, underlayment or a different product than the one selected from a showroom sample. Confirm compatibility among the slab, moisture-control approach, adhesive, underlay and finished floor.
Consider repairability. A local leak or appliance problem should not require destroying permanent millwork across the room. Keep cabinetry and storage off vulnerable areas where appropriate, preserve access to foundation or drainage components and retain attic stock of flooring and tile for future repairs.
Built-ins should serve the room without consuming necessary clearances. Confirm television, equipment and cable ventilation; outlet locations; cabinet door swings; baseboard returns; and how the installation meets the floor and ceiling. Review shop drawings against site dimensions after drywall, not only against an early concept plan.
LIGHTING, COMFORT AND USE
Finish the Space for Everyday Life
Combine general, task and accent lighting. Recessed fixtures can provide even light, but task lighting belongs at desks, laundry, mirrors and counters, while wall or cabinet lighting can add depth. Coordinate fixtures with ducts, framing, grilles and alarms so the ceiling reads as one design.
Comfort depends on the building systems behind the finish. Confirm supply and return-air paths, bathroom exhaust, room controls and seasonal humidity strategy. Test whether doors change airflow and keep grilles clear of planned furniture. For focused scopes, see basement electrical and lighting and HVAC and ventilation.
Acoustic comfort also affects daily use. Consider mechanical equipment, laundry, media sound, bedrooms and work calls when locating rooms and selecting assemblies. Soft finishes and doors can help, but the underlying wall, ceiling and duct paths determine much of the result.
PERMITS, SEQUENCE AND HANDOVER
Protect the Work That Will Disappear
The Town of Oakville states that a building permit is required to finish or renovate a basement. Confirm what the current submission requires for the actual scope. New bedrooms, bathrooms, structural work, exterior openings and changes to plumbing, HVAC or electrical systems can add drawings, coordination and inspection stages.
Build a sequence around visible work: layout and framing; below-slab or in-wall rough-ins; required inspections; insulation and separation work; drywall; prime and paint; flooring; cabinetry; trim; fixtures; testing and deficiencies. Do not board over work that still needs review, and do not install vulnerable finishes while wet work or unresolved leaks remain.
At handover, operate doors, windows, lights, controls, fans, fixtures and drains. Review walls and ceilings under their permanent lighting. Label panels, valves and access points. Deliver paint and finish records, product manuals, warranties, inspection documentation and concealed-work photographs. Explain maintenance rather than leaving the owner to discover it after a problem.
What should a basement-finishing quote identify?
- Drawings, permits and professional inputs
- Demolition or correction allowances
- Framing, insulation and drywall assemblies
- Ceiling and access-panel details
- Electrical, HVAC and plumbing responsibilities
- Floor preparation and specified finish products
- Cabinetry, trim, paint and hardware
- Testing, cleanup, deficiencies and handover
Compare quotations against the same scope and selections. A low number that excludes floor preparation, painting, permits or service work is not directly comparable with a complete finishing proposal.
QUESTIONS HOMEOWNERS ASK
Frequently Asked Questions
A defined finishing scope can include layout refinement, framing, insulation, drywall, ceilings, lighting, flooring, trim, painting, cabinetry and final fixture installation. Bathrooms, kitchens, structural changes and major system work should be identified separately and coordinated before finishes begin.
The Town of Oakville states that a building permit is required to finish or renovate a basement. The specific drawings and supporting information depend on the work, so confirm the current requirements before construction.
No. Finishing commonly starts from a sound unfinished or properly roughed-in shell and focuses on creating completed rooms and surfaces. A complete renovation can include demolition, layout changes, corrective work, new plumbing or HVAC, structural work and rebuilding multiple systems before finishing.
Do not cover an unresolved moisture problem. Document where and when water appears, investigate exterior and interior sources, repair the cause, confirm drying and choose assemblies compatible with the actual basement conditions.
Finishing alone does not establish a legal second unit. A self-contained dwelling has a different use and approval path involving property review, the required living functions, zoning and building-permit coordination. Start with the two-unit dwelling conversion or accessory-apartment planning service.
Duration depends on the approved scope, existing conditions, permit and inspection sequence, trade coordination, selections and product lead times. A project-specific schedule should show decisions and inspection holds rather than promise a universal number of weeks.
REQUEST AN ASSESSMENT
Plan Basement Finishing in Oakville
Share the current condition, the result you want and any drawings, permits or inspection information already available.
Project requirements depend on the property, existing conditions and proposed scope.
Discuss Your Basement
Tell us what exists today and what you want the lower level to become.
Please return shortly to request a basement assessment.