
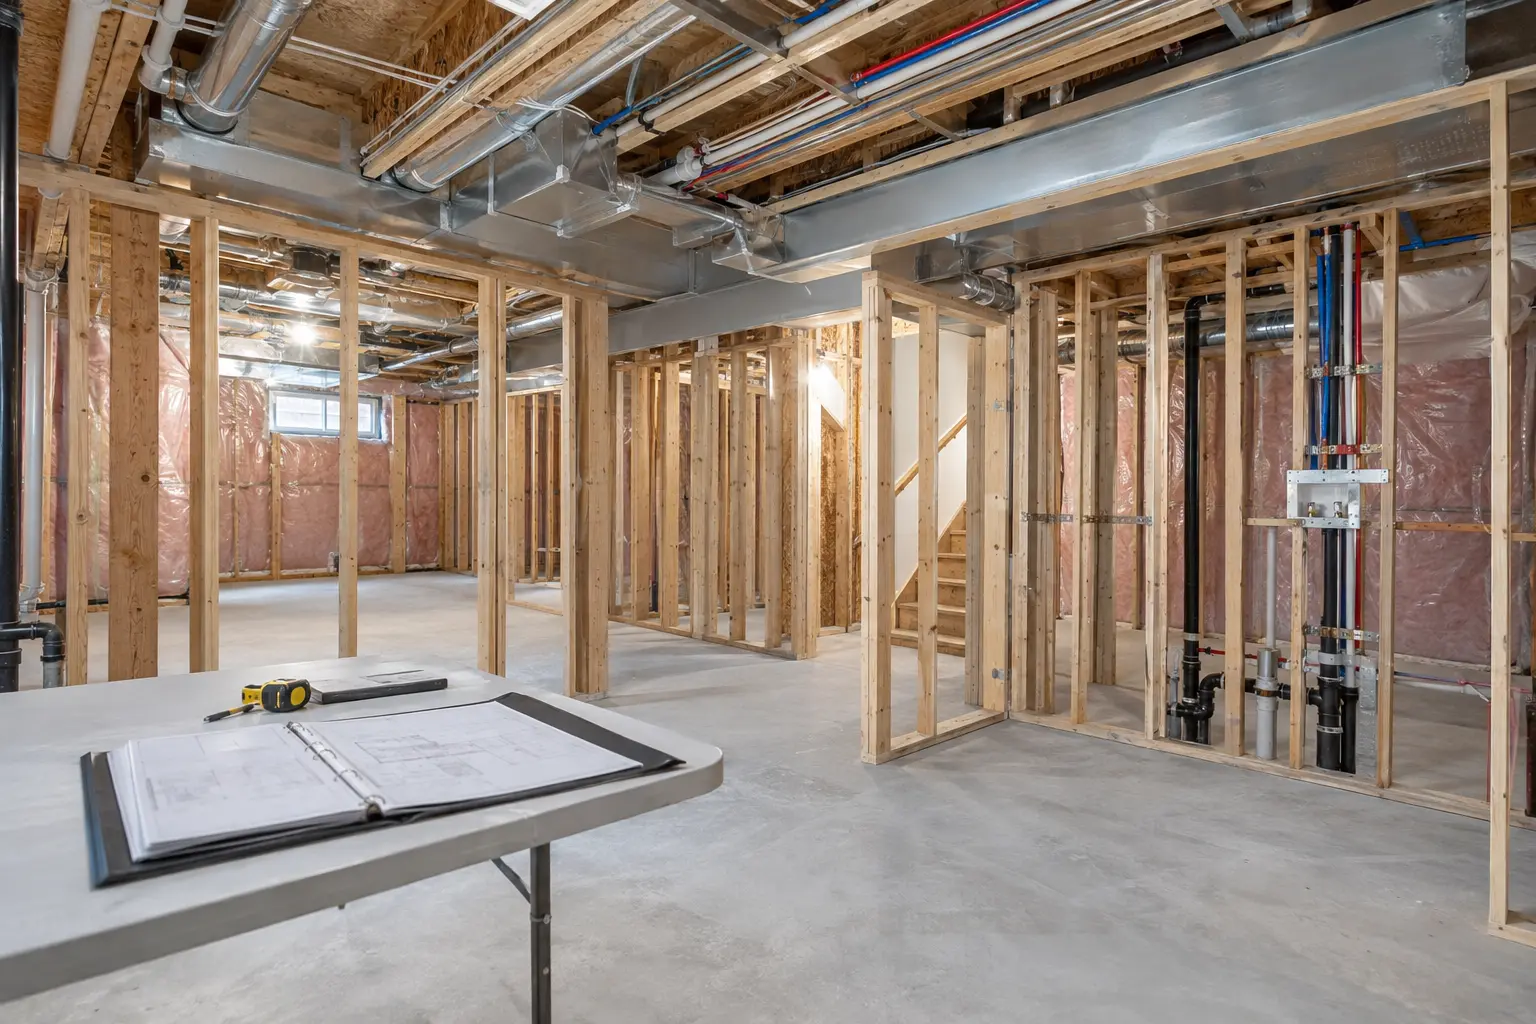
BUILD TO THE APPROVED INTENT
Inspections Are Milestones in a Controlled Construction Sequence
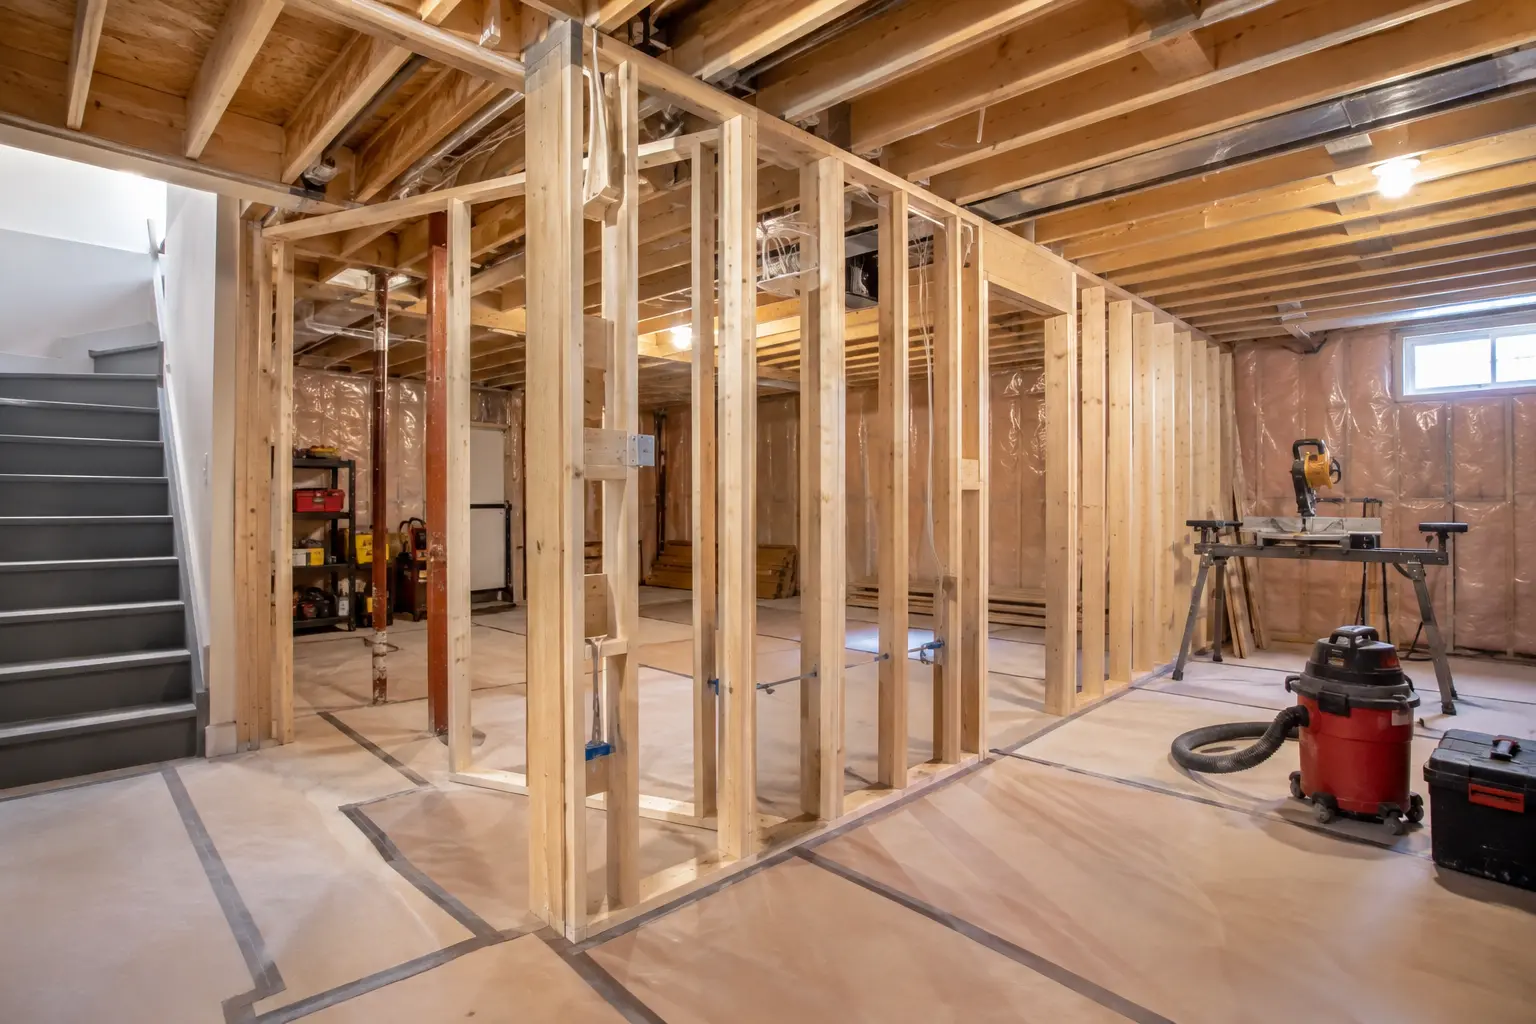
Inspection planning should begin before demolition. The permit documents, trade sequence and contract need to identify which work must remain visible and who is responsible for booking, attending and responding. Closing a ceiling too early can turn a routine review into destructive rework.
Keep the current issued drawings on site. When conditions differ, record the location, photograph the issue and obtain direction from the appropriate designer or authority. A verbal workaround can affect structure, fire separation, ventilation, plumbing and finish layout simultaneously.
Pre-construction
Confirm documents, contacts, scope boundaries, investigation openings, site protection and the planned inspection sequence.
Concealed work
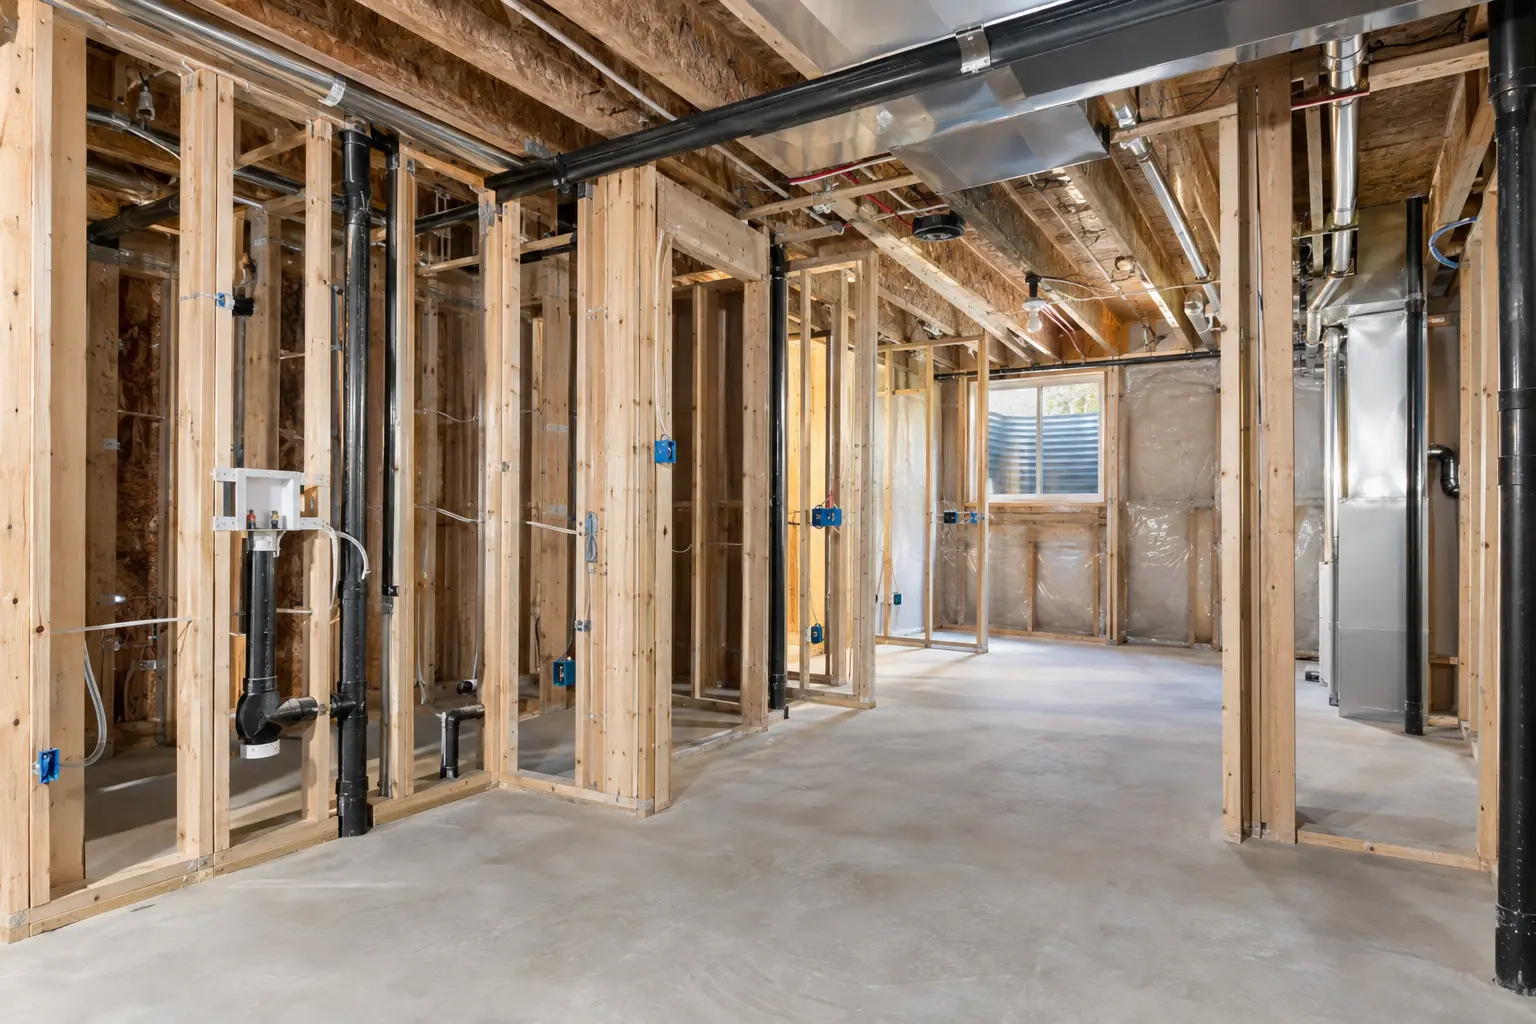
Review structure, underground services, rough-ins, insulation and separation details while they can still be seen and corrected.
Final closeout
Test the completed rooms and systems, clear deficiencies, assemble records and explain maintenance and controls to the owner.
FIELD QUALITY
Use Checkpoints Before Each Layer Hides the Last
Before concrete repair, verify below-slab plumbing, bedding and required testing. Before insulation, confirm exterior-wall conditions, service routes and penetrations. Before drywall, review framing, fire and acoustic details, electrical and mechanical rough-ins, backing and access panels. Before cabinets, confirm wall dimensions, finished floors, service locations and appliance specifications.
A checkpoint is not a substitute for an authority inspection. It is an internal quality-control moment that catches coordination errors before the next trade mobilizes. Record the date, area, participants, open items and photographs. Assign each deficiency to a responsible party and a due date.
Protect approved work after it is reviewed. New penetrations, removed labels or finish-stage changes can compromise a completed assembly. Site supervision should make it clear that “inspected” does not mean “safe to alter without coordination.”
Useful inspection records
- Permit and inspection reference numbers
- Date, stage and areas available for review
- Inspector or reviewer comments
- Photographs keyed to rooms or drawing references
- Required corrections and responsible trade
- Evidence of correction and follow-up status
- Accepted revisions or supplementary details
DEFICIENCY MANAGEMENT
Close Comments Systematically Instead of Patching Around Them
Turn every review comment into a written action. Confirm what must change, which drawing or requirement applies, who will do the work and whether a follow-up inspection is needed. Group items by area and trade so one correction does not damage another completed component.
If a deficiency reveals a broader pattern—such as repeated unsealed penetrations or inconsistent framing—review the full affected area rather than correcting only the one spot that was noticed. Document the final condition before it is concealed.
Maintain a single current deficiency list. Email threads, texts and marked-up photographs are useful evidence, but they should not become competing versions of the scope. The owner should be able to see what is open, what is complete and what is awaiting review.
Practical handover testing
Operate windows, doors, locks, fans, lights, dimmers, appliances, plumbing fixtures and alarms. Run water and check drainage. Review heating and cooling response, grille and filter access, sump or condensate equipment, panels and shutoffs. Inspect finishes under normal lighting and confirm exterior grades, wells and entrance drains are clear.
The full project process shows where inspections belong. For existing work, start with the legalization assessment so the investigation and correction scope is documented before closeout is attempted.
PROJECT RECORD
Leave the Owner With Evidence, Not Just a Finished Room
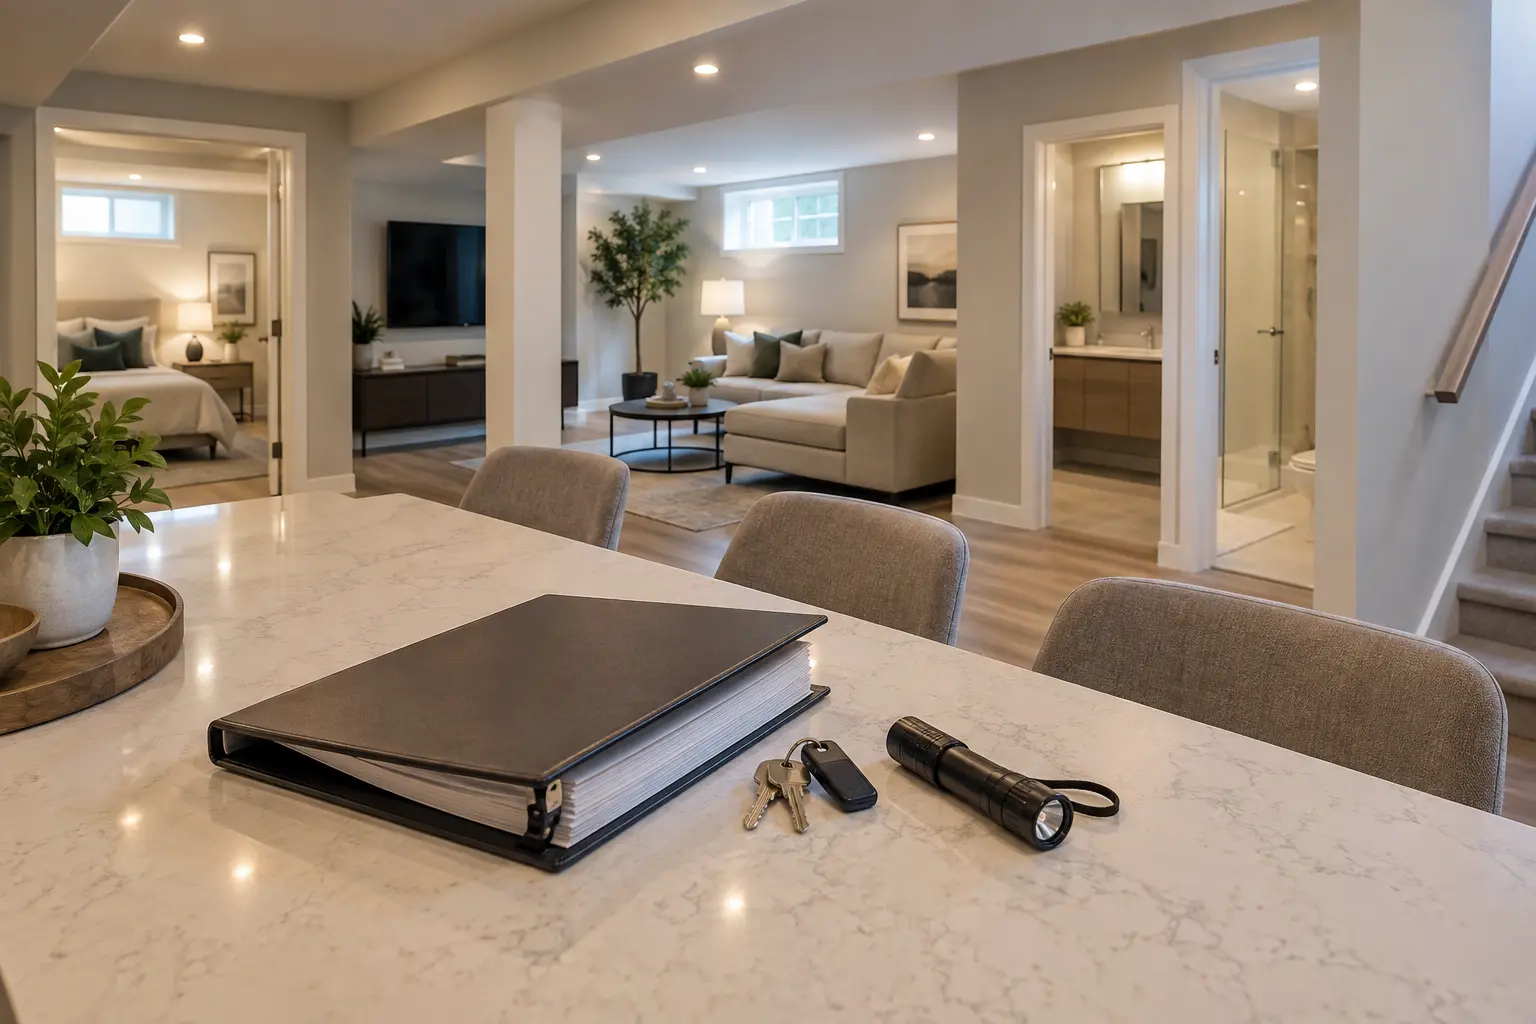
A closeout package should include the latest approved drawings, permits, inspection information, accepted revisions, electrical or other trade documentation, equipment manuals, warranties, finish schedules and maintenance instructions. Add selected photographs of important concealed routes, blocking, valves and assemblies with clear room labels.
Explain recurring tasks: filter changes, fan cleaning, drain and sump checks, window-well clearing, alarm testing, caulk maintenance and seasonal observation of exterior drainage. Identify who to contact for warranty items and the period in which they should be reported.
Final completion is a process, not a photograph. The strongest outcome is a basement whose construction can be maintained, whose controls are understood and whose approval history can be retrieved when the property changes hands.
QUESTIONS HOMEOWNERS ASK
Frequently Asked Questions
Responsibility should be assigned in the contract and project plan. The permit holder and contractor must understand the applicable process and keep the owner informed.
No. Photographs are useful project records but do not substitute for required inspections or approvals.
Pause the affected work, document the field condition and obtain the required design and approval direction before concealing it.
Final approved documents, permits, inspection records, accepted revisions, trade documentation, equipment information, warranties, maintenance instructions and useful concealed-work photographs.
When required work and inspections are complete, deficiencies are closed, systems are tested, records are delivered and the owner understands operation and maintenance.
OWNER ACCEPTANCE
Use a Structured Walkthrough, Not a Rushed Key Handover
Walk through in daylight and with the installed lighting. Move room by room using the same checklist: surfaces, doors, windows, devices, fixtures, ventilation, alarms, storage and service access. Record deficiencies with a photograph, location, responsible party and completion target.
Distinguish incomplete work from seasonal or warranty observation. If exterior grading cannot be assessed under snow, state the follow-up date. If balancing is expected after occupancy, identify the responsible contractor and baseline settings.
Closeout acceptance questions
- Are required inspections complete and documented?
- Do installed conditions match accepted revisions?
- Are panels, valves, filters and cleanouts labelled and reachable?
- Have resident controls and emergency procedures been explained?
- Are manuals, warranties and trade records organized?
- Is every remaining item written with an owner and due date?
Final payment and contractual completion should follow the applicable written agreement and legal obligations. Obtain professional advice where needed rather than relying on a generic website checklist.
Organize the Digital Record So It Can Be Found Later
Use a simple folder structure for approvals, current drawings, revisions, inspections, trades, products, photographs and warranties. Name files with dates and clear subjects. Keep an index that identifies the final drawing issue and the location of any paper originals.
Photographs are most useful when they show context. Start with a room overview, then capture the concealed condition with a ruler or fixed reference. Add a short file name describing the room, wall and subject. Hundreds of unlabelled images are difficult to use during a future repair.
Thirty-day review
After the space has been occupied, check doors, plumbing joints, sealants, heating and ventilation, drainage equipment and any seasonal items that could not be assessed at handover. Record legitimate warranty concerns promptly under the applicable agreement.
Do not treat minor shrinkage or adjustment as proof of a major defect, but do not ignore recurring water, electrical trips, alarm problems or equipment faults. Escalate safety concerns immediately to the appropriate qualified professional or service.
The closeout record should make future maintenance safer and reduce invasive investigation. It is one of the few project deliverables that becomes more valuable with time. Give both the owner and an agreed backup location a complete copy.
Archive the Final Record
Keep copies in two reliable locations and avoid depending on a contractor portal that may later expire. Preserve original file names and dates, and add a short index for the next owner or service professional.
Review the archive after any later alteration so the record continues to describe the basement that actually exists.
REQUEST AN ASSESSMENT
Plan Basement Inspections and Closeout
Share the current condition, the result you want and any drawings, permits or inspection information already available.
Project requirements depend on the property, existing conditions and proposed scope.
Discuss Your Basement
Tell us what exists today and what you want the lower level to become.
Please return shortly to request a basement assessment.